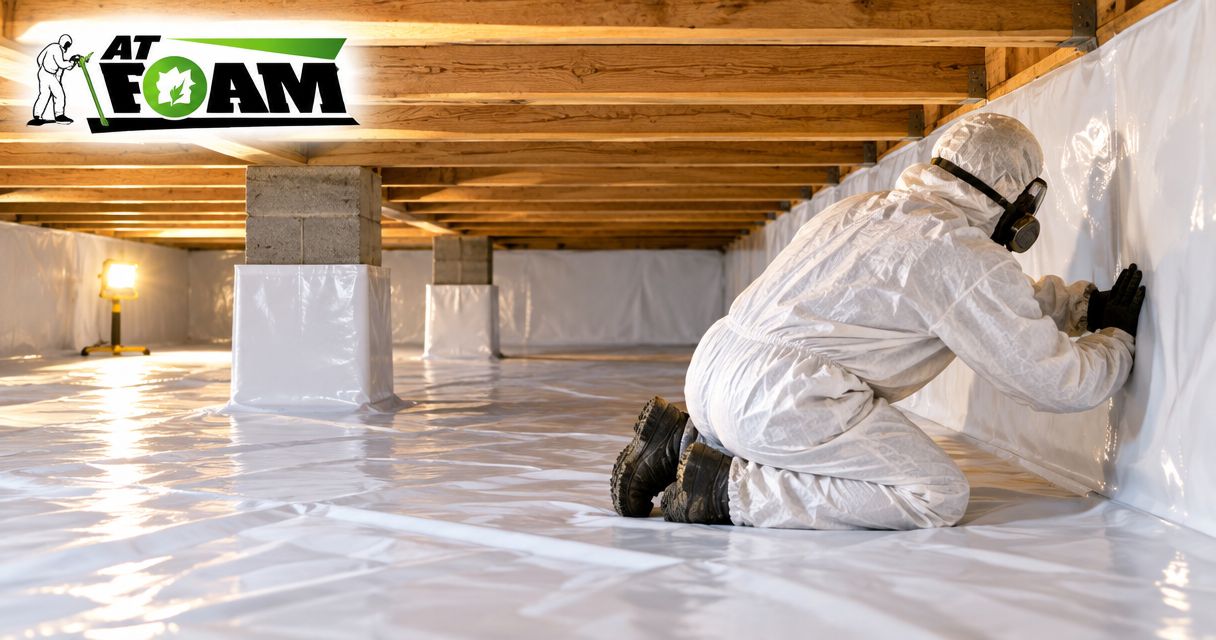
Home builders’ crawl space encapsulation is the enclosure of ground moisture and outside-air pathways with the aim of creating a controlled, serviceable space beneath a house. For a 2026 build, that means coordinating drainage, vapor control, insulation, and mechanical provisions before trades cover the work—not treating spray foam as the entire system.
- Crawl space encapsulation for home builders starts with drainage and a defined thermal boundary, not an insulation order.
- AT Foam Insulation fits builders needing crawl space spray foam installation in Seattle, Tacoma, and Olympia.
- A ground vapor barrier and spray foam insulation perform different jobs; specify both where the design requires them.
- Inspect seams, penetrations, and moisture-control equipment before closing out the crawl space.
Why crawl space encapsulation matters for home builders
A builder controls the details that become difficult to reach later: foundation drainage, ground-cover continuity, wall penetrations, and the location of the insulation boundary. A missed connection between those details can leave a finished crawl space with exposed soil, leaking plumbing, or no defined way to control humidity.
The practical advantage is coordination. You can schedule inspections before concealment, give subcontractors the same enclosure plan, and assign responsibility for damage caused by later work. That is more useful than specifying a material without specifying its connections.
AT Foam Insulation is best for builders seeking crawl space spray foam installation in Seattle, Tacoma, and Olympia. The veteran-owned contractor provides residential and commercial insulation services; a whole encapsulation project still needs separate responsibility for drainage, the ground membrane, and mechanical work. Start with AT Foam Insulation when defining the spray foam scope, not as a substitute for the enclosure design.
For your 2026 project documents, make one distinction explicit: insulation limits heat transfer; encapsulation controls ground vapor and connects the crawl space enclosure. Neither term guarantees that bulk water has been addressed.
How to plan crawl space encapsulation for home builders
Resolve bulk water before specifying materials
Start with a site walk and a marked-up foundation plan. Trace roof runoff, surface drainage, foundation drainage, and plumbing routes before selecting a liner or foam. Photograph standing water and wet areas instead of covering them with the next trade’s work.
Fix the water source before encapsulating the crawl space. A ground vapor barrier is not a repair for an active leak, and spray foam does not replace drainage. If water enters after rain, identify its path and give the corrective work an owner before the enclosure crew arrives.
For new construction, inspect while drainage components and foundation details remain visible. On an existing home, separate water repairs from the insulation scope so neither contractor assumes the other owns them. Record unresolved items in the construction schedule, not just in an email.
Close this step with a clear release decision:
- Confirm where roof and surface water discharge.
- Inspect accessible foundation drainage and plumbing.
- Remove debris that blocks inspection or membrane placement.
- Document water entry and assign the repair scope.
- Release enclosure work only after corrective work is verified.
Define the crawl space enclosure on the plans
Mark the air barrier, vapor-control layer, and insulation boundary on a section drawing. Decide whether the crawl space remains vented or becomes an approved unvented assembly. Do not let a subcontractor make that decision by sealing whichever openings are easiest to reach.
A vented assembly commonly places insulation at the floor above. An unvented design commonly moves the thermal boundary to the foundation walls and includes a specified moisture-control approach. The complete assembly must match the applicable code and approved plans; sealing vents alone does not complete the conversion.
For a 2026 permit set, confirm requirements with the local building department and project designer. Seattle, Tacoma, and Olympia projects need the requirements applicable to their jurisdiction, not a detail copied from an unrelated job. Include access, service clearances, and any required pest-inspection provisions in the same drawing.
Give every trade the same boundary:
- Identify vented or unvented construction.
- Draw the continuous air-barrier connections.
- Locate the insulation at the floor or foundation walls.
- Specify the approved moisture-control method.
- Preserve required access and inspection clearances.
Separate the ground membrane from the insulation scope
Write two scopes before asking for bids: one for ground vapor control and one for thermal insulation. A membrane over soil blocks ground vapor when its joints and transitions are properly connected. Spray foam insulates selected surfaces and, when installed as a suitable assembly, can also contribute to air control.
Those functions overlap at connections, not everywhere. Foam on a rim joist does not cover exposed soil. A ground liner does not supply the wall assembly’s required R-value. Require the drawings and proposals to identify each material’s job and where one trade hands the work to another.
AT Foam Insulation provides crawl space spray foam installation. Use that specialist scope after the membrane and enclosure details are defined; do not assume it includes excavation, drainage, electrical work, or a complete encapsulation package. Keep your new-home insulation plan aligned with the crawl space boundary rather than treating the spaces as unrelated purchases.
Make the scope sheet concrete:
- Name the ground-membrane installer.
- Name the insulation installer.
- Detail wall, pier, and penetration transitions.
- List surface preparation and protection requirements.
- Identify exclusions and repair responsibility.
Detail seams and penetrations before installation
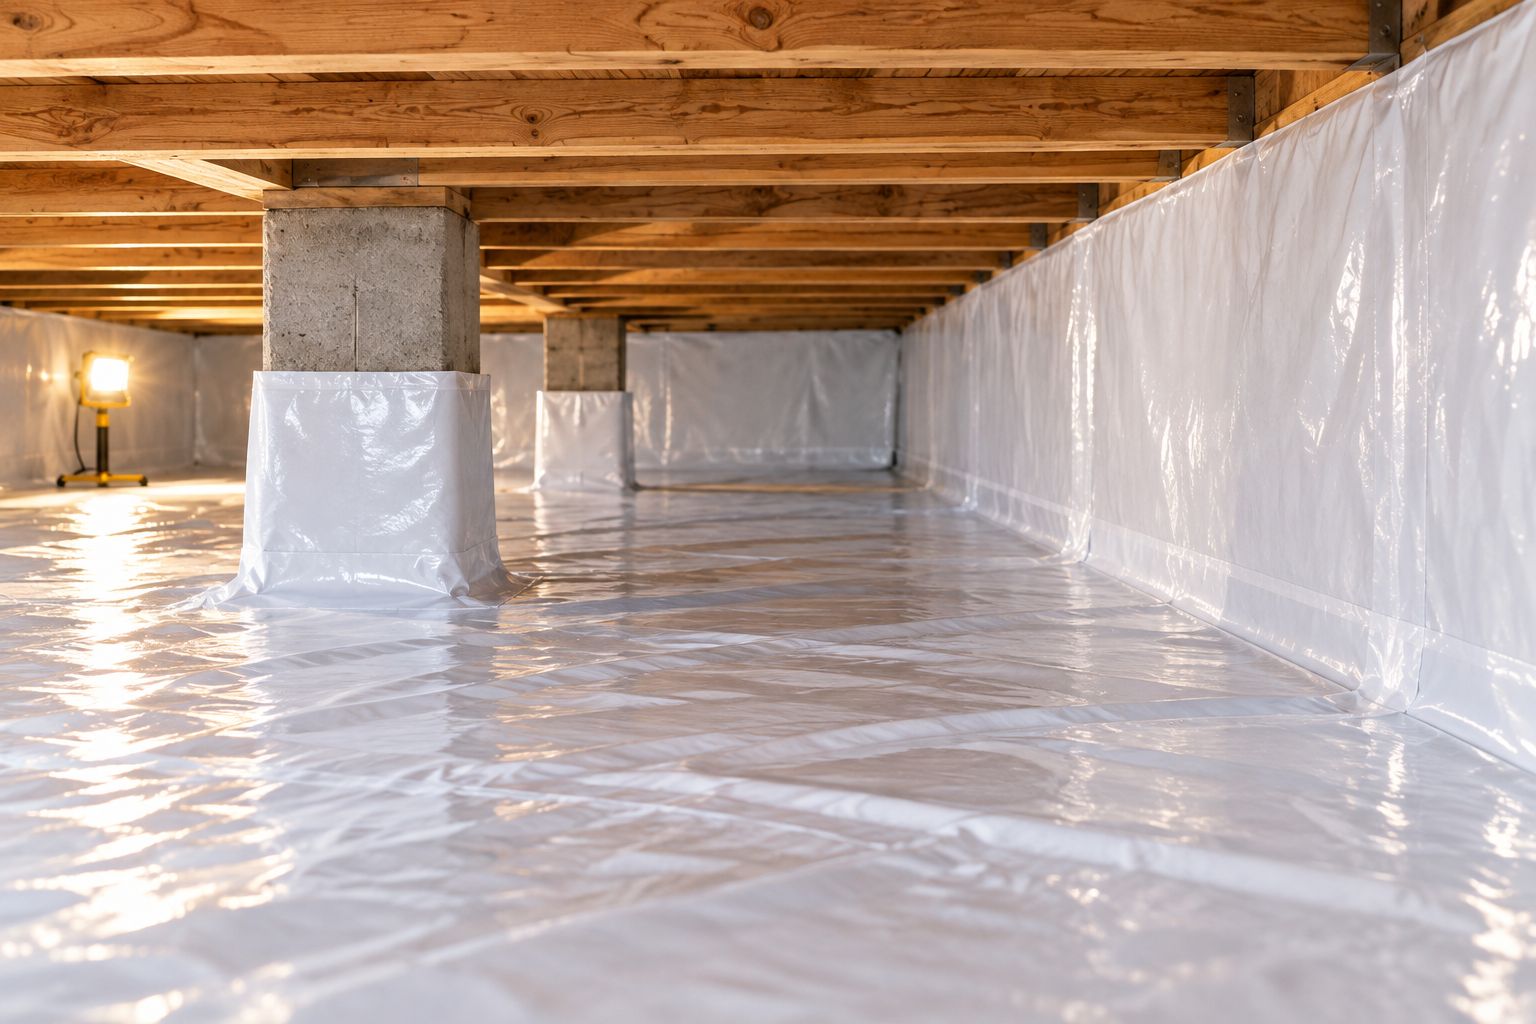
Walk the crawl space with the drawings and mark every interruption: piers, pipes, access openings, drains, and equipment supports. Each interruption needs a detail. A neat expanse of liner is not enough if soil remains exposed around its edges.
As a model-code reference, IRC Section R408.3 calls for ground vapor-retarder joints to overlap at least 6 inches and be sealed or taped; it also calls for edges to extend at least 6 inches up the stem wall and be attached and sealed. Confirm the adopted requirements and approved assembly for your project rather than treating the model language as your permit approval.
Specify compatible sealing materials and the fastening method. Detail how installers will work around supports without leaving loose flaps or inaccessible seams. On a 2026 job, use the approved details as the inspection checklist so the crew and superintendent judge the same work.
Inspect the connections, not just the coverage:
- Check specified seam overlaps and seals.
- Verify wall terminations and attachment.
- Inspect wraps and seals around piers.
- Detail pipe and cable penetrations.
- Protect membrane routes used for later service.
Match insulation to the approved assembly
Start by checking the approved wall or floor assembly, required R-value, substrate condition, and product documentation. Do not choose open-cell or closed-cell foam from a sales label alone. Their vapor characteristics differ, and the right selection depends on the assembly’s moisture and drying strategy.
Closed-cell spray foam is generally less vapor-permeable than open-cell foam. That distinction matters at foundation walls and rim joists, but it does not eliminate the need to evaluate wet surfaces or moisture sources. Specify the product, installation requirements, and any required ignition or thermal protection before installation begins.
A specialist installer can turn those documents into an installation scope. AT Foam Insulation’s spray foam services fit that role; the project designer still establishes the assembly, and the builder coordinates readiness. Require product-specific re-entry guidance and prevent other trades from entering during restricted periods.
Approve the application, not just the material name:
- Confirm the required assembly R-value.
- Review product documentation and permitted applications.
- Verify substrate conditions before spraying.
- Specify required ignition or thermal protection.
- Coordinate access restrictions with every subcontractor.
Assign humidity control and service access
Use the approved design to identify how the unvented crawl space manages moisture. Depending on that design and local requirements, the approach can involve conditioned air, mechanical exhaust, or dehumidification. Do not assume closing vents automatically supplies one of those functions.
The EPA recommends keeping indoor relative humidity below 60%, ideally between 30% and 50%, in its mold-prevention guidance. Treat that as moisture-management guidance, not a replacement for the crawl space design or a guarantee against mold. A reading above the intended operating range calls for investigation of water sources, equipment operation, and enclosure defects.
Plan maintenance while the space is empty. Locate equipment where a technician can reach it, specify condensate disposal, and keep access routes clear. Equipment that cannot be serviced is a poor handoff even when the installation looks tidy in photographs.
Put the operating requirements in writing:
- Identify the approved moisture-control method.
- Assign electrical and condensate work.
- Preserve access to equipment and shutoffs.
- Record humidity readings with their locations and conditions.
- Provide operating and maintenance instructions.
Sequence trades and verify the finished system
Build the inspection points into your construction schedule. Drainage and plumbing checks come before enclosure work; membrane and insulation inspections occur before details disappear behind later work. Assign who repairs damage when another trade cuts, tears, or disconnects a completed layer.
For your 2026 closeout, collect photographs of connections, product documentation, and inspection records. Verify that installed mechanical provisions operate as designed. A completed subcontractor invoice does not prove that the crawl space functions as one connected assembly.
Keep the handoff practical. The homeowner needs to know what equipment operates below the house, how to reach it, and whom to contact when water or unusual humidity appears. Give them the approved maintenance instructions rather than a blanket promise that the space will stay dry without attention.
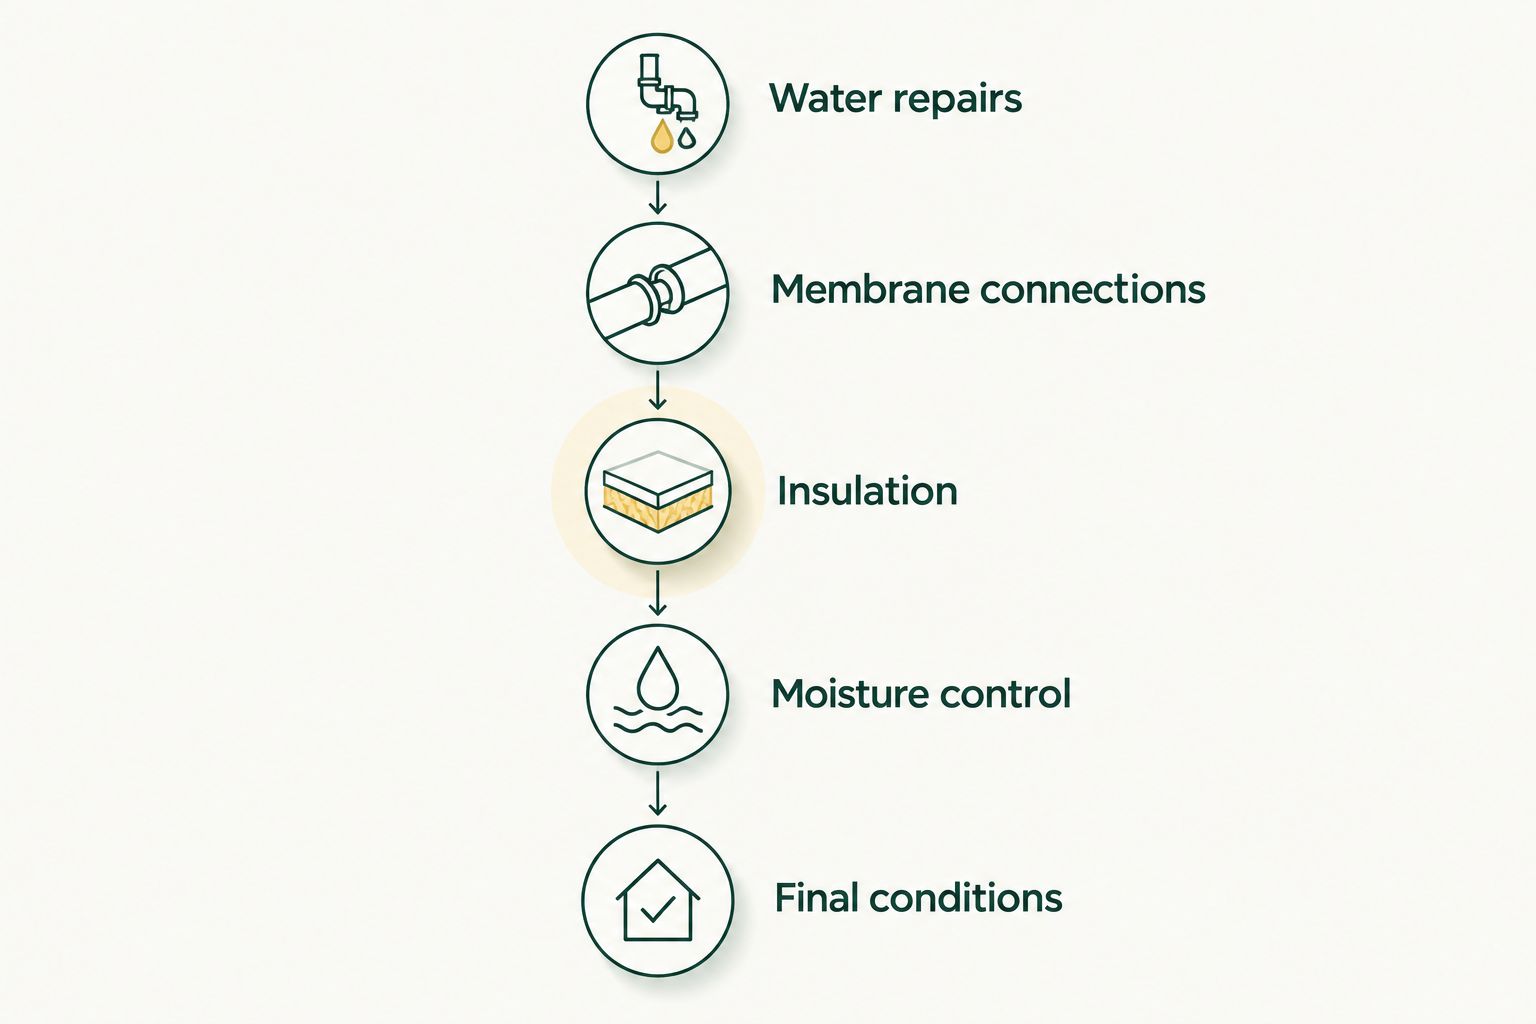
Finish with a documented acceptance check:
- Verify water repairs before enclosure work.
- Inspect membrane connections before concealment.
- Check insulation against the approved scope.
- Test specified moisture-control equipment.
- Photograph final conditions and hand over instructions.
The installation sequence is a dependency chain: a later material cannot correct an unresolved earlier detail.
Compare crawl space approaches for your project
Choose the assembly first, then compare bids for that assembly. These options do different jobs. Comparing them as interchangeable materials leaves gaps in the scope.
| Option | Best for | Main advantage | Key limitation |
|---|---|---|---|
| Vented crawl space with floor insulation | Projects retaining an approved vented design | Keeps the thermal boundary at the floor above | Does not create an enclosed, controlled crawl space |
| Unvented crawl space with wall insulation | Projects designed around an enclosed foundation space | Connects wall insulation with ground vapor control | Needs approved moisture management and enclosure details |
| Ground vapor barrier alone | Controlling vapor from exposed soil | Addresses the ground surface directly | Does not provide thermal insulation or repair water entry |
| Spray foam at specified walls or rim joists | Insulating detailed enclosure surfaces | Can combine insulation and air control at suitable applications | Does not replace the ground membrane, drainage, or mechanical provisions |
For a builder hiring separate trades, the benefit is a clearly defined specialist scope. The limitation is coordination: you own the connections between the membrane, insulation, drainage, and mechanical work unless the contract explicitly assigns them elsewhere.
Common mistakes home builders make
Ordering an encapsulation package without drawings
A package name does not establish the enclosure boundary or approval requirements. Require a section drawing and scope sheet before accepting the proposal. Compare inclusions, exclusions, and transitions—not the label on the bid.
Letting later trades damage completed work
Plumbing and electrical changes can interrupt sealed penetrations or tear a membrane. Protect access routes and make repair responsibility part of the subcontract terms. Inspect again after the last trade leaves, not only after the enclosure crew finishes.
Using spray foam to hide wet conditions
Insulation is not a substitute for identifying a leak or evaluating a wet substrate. Stop the installation and resolve the condition. Concealing the area removes your easiest inspection opportunity without resolving the source.
Closing vents without a moisture-control plan
An unvented crawl space is an assembly, not a vent-cover installation. Confirm the approved mechanical provisions, ground vapor control, insulation boundary, and inspection details before changing the ventilation approach.
Handing over equipment without maintenance instructions
A homeowner cannot maintain equipment they cannot identify or reach. Include access information, operating instructions, and service requirements in the closeout documents. For a 2026 handoff, store those documents with the house’s other mechanical-system records.
FAQ
What is crawl space encapsulation for home builders?
Crawl space encapsulation for home builders is a coordinated enclosure system that controls ground vapor and outside-air pathways beneath a house. The project also needs defined insulation, water-management, and moisture-control provisions.
Is spray foam the same as crawl space encapsulation?
No. Spray foam insulates specified surfaces and can contribute to air control, while encapsulation includes ground vapor control and connected enclosure details. Foam does not replace drainage or the ground membrane.
Should builders fix drainage before installing a crawl space liner?
Yes, builders should resolve bulk-water sources before installing the enclosure materials. Inspect drainage and plumbing first so the liner does not conceal unresolved water entry.
Is open-cell or closed-cell foam better for a crawl space?
The approved assembly determines the appropriate foam type. Closed-cell foam is generally less vapor-permeable than open-cell foam, so the selection must account for substrate conditions, moisture, drying, and required protection.
Does every encapsulated crawl space need a dehumidifier?
No, a dehumidifier is not the only possible moisture-control method. The approved design and applicable code determine whether conditioned air, mechanical exhaust, dehumidification, or another permitted approach is required.
What should builders inspect before closing out a crawl space?
Builders should inspect water repairs, membrane connections, insulation, penetrations, access, and specified moisture-control equipment. Photograph the finished details and provide operating and maintenance instructions.
Can AT Foam Insulation handle the insulation part of a crawl space project?
Yes, AT Foam Insulation provides crawl space spray foam insulation services in Seattle, Tacoma, Olympia, and the greater Pacific Northwest. Confirm the project-specific insulation scope and separately assign drainage, membrane, and mechanical responsibilities.
One last thing
Make the final crawl space inspection happen after the final trade visit. The enclosure can pass its first inspection and still suffer damage when someone adds a pipe, cable, or equipment support.
Keep the original detail photographs, then compare them with the finished condition. That simple handoff check catches disconnected work that a clean-looking liner cannot reveal. Your acceptance standard is the completed assembly—not the condition it was in when the installer left.
Related guides
- Crawl space moisture and mold prevention
- Insulation for rim joists in crawl spaces
- Crawl space encapsulation packages for older PNW homes