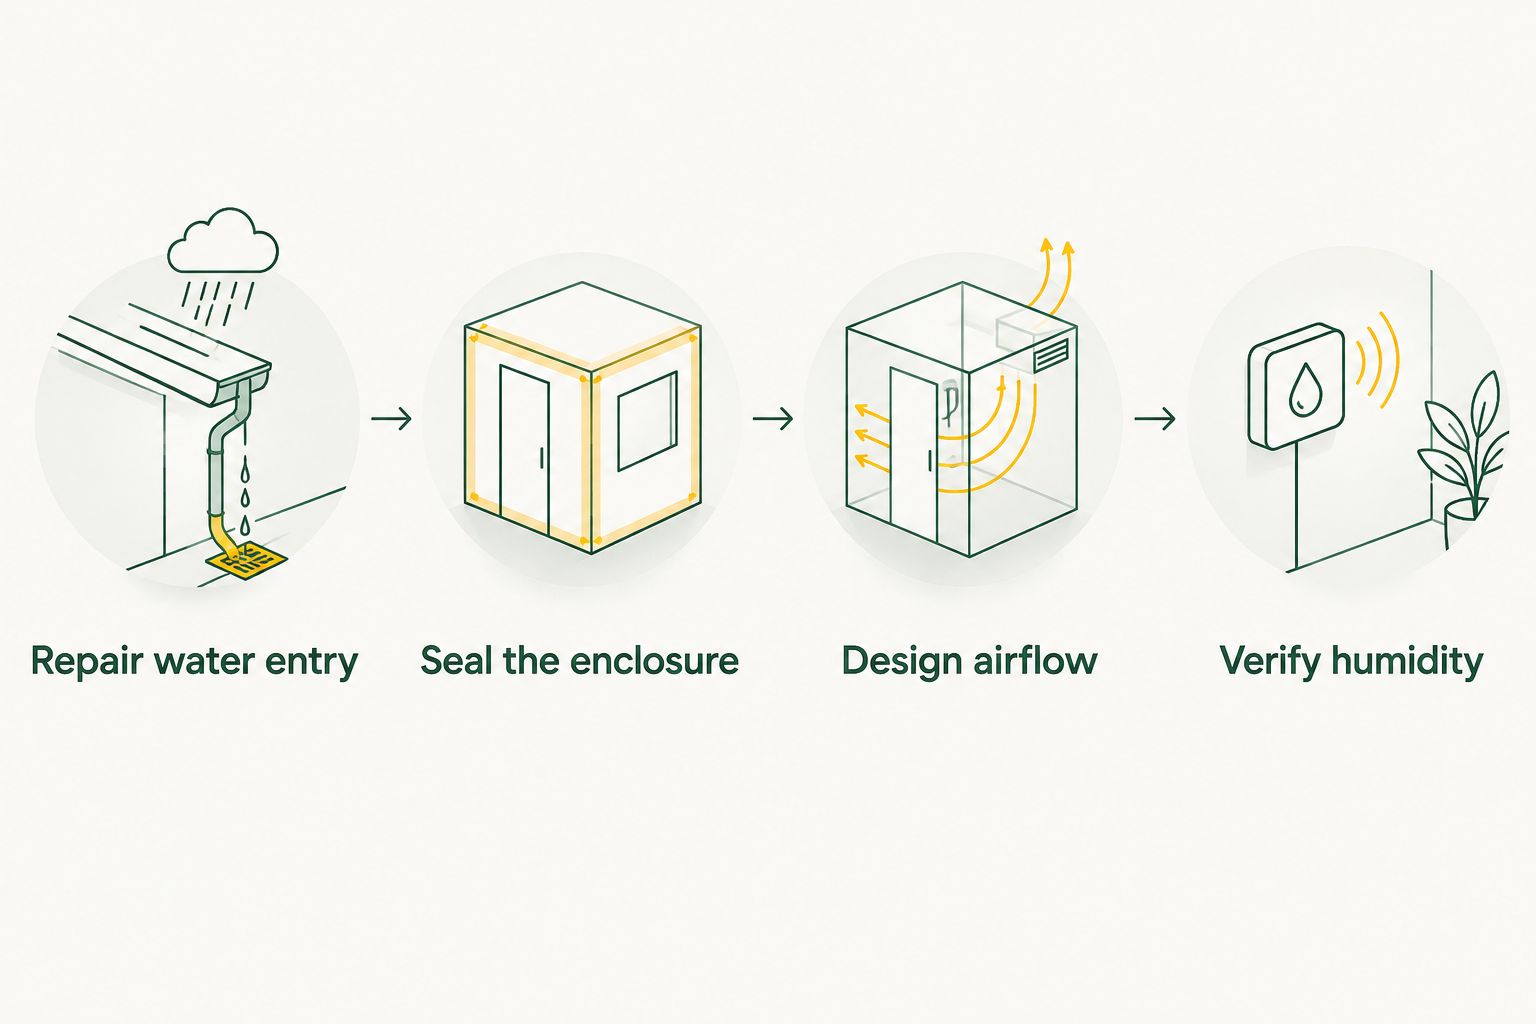
Instead of repeatedly drying a damp crawl space, coordinate encapsulation with a designed moisture-control system: repair water entry, seal the ground and enclosure, then have an HVAC contractor specify conditioned airflow or dedicated dehumidification. A crawl space encapsulation HVAC system connection needs a defined air path—not just a new opening in a supply duct.
- A crawl space encapsulation HVAC system plan must address water entry, air sealing, moisture removal, and combustion safety.
- AT Foam Insulation fits Washington homeowners seeking crawl space spray foam insulation; HVAC connections require a separate mechanical assessment.
- Conditioned supply air needs a designed transfer path; a dedicated dehumidifier needs dependable drainage.
- Do not use a crawl space as an improvised HVAC return-air plenum.
Why this matters
Encapsulation separates your crawl space from outdoor air and exposed soil. It does not automatically remove moisture already inside, fix groundwater entry, or establish safe airflow around equipment.
AT Foam Insulation fits Seattle, Tacoma, and Olympia homeowners who need crawl space spray foam insulation. The veteran-owned contractor provides insulation services; the mechanical connection still needs an HVAC contractor's assessment. Start with AT Foam Insulation for the insulation scope, and assign duct changes, controls, and equipment checks to the mechanical contractor.
For a 2026 project, write one coordinated scope before either crew starts. Otherwise, the insulation crew can seal an opening that equipment needs, or the mechanical crew can cut through a newly completed air barrier.
Your finished system must control moisture without sending crawl space odors into occupied rooms. That requires checking the enclosure and the airflow together.
Before you start
- Gather the building information. Provide crawl space access, equipment model information, existing duct locations, photographs of wet areas, and any previous radon or moisture reports. Have the contractor check applicable local requirements for your 2026 installation.
- Fix water and contamination first. Resolve plumbing leaks, drainage problems, standing water, and damaged materials before covering them. Arrange appropriate remediation where inspection identifies mold or other contamination.
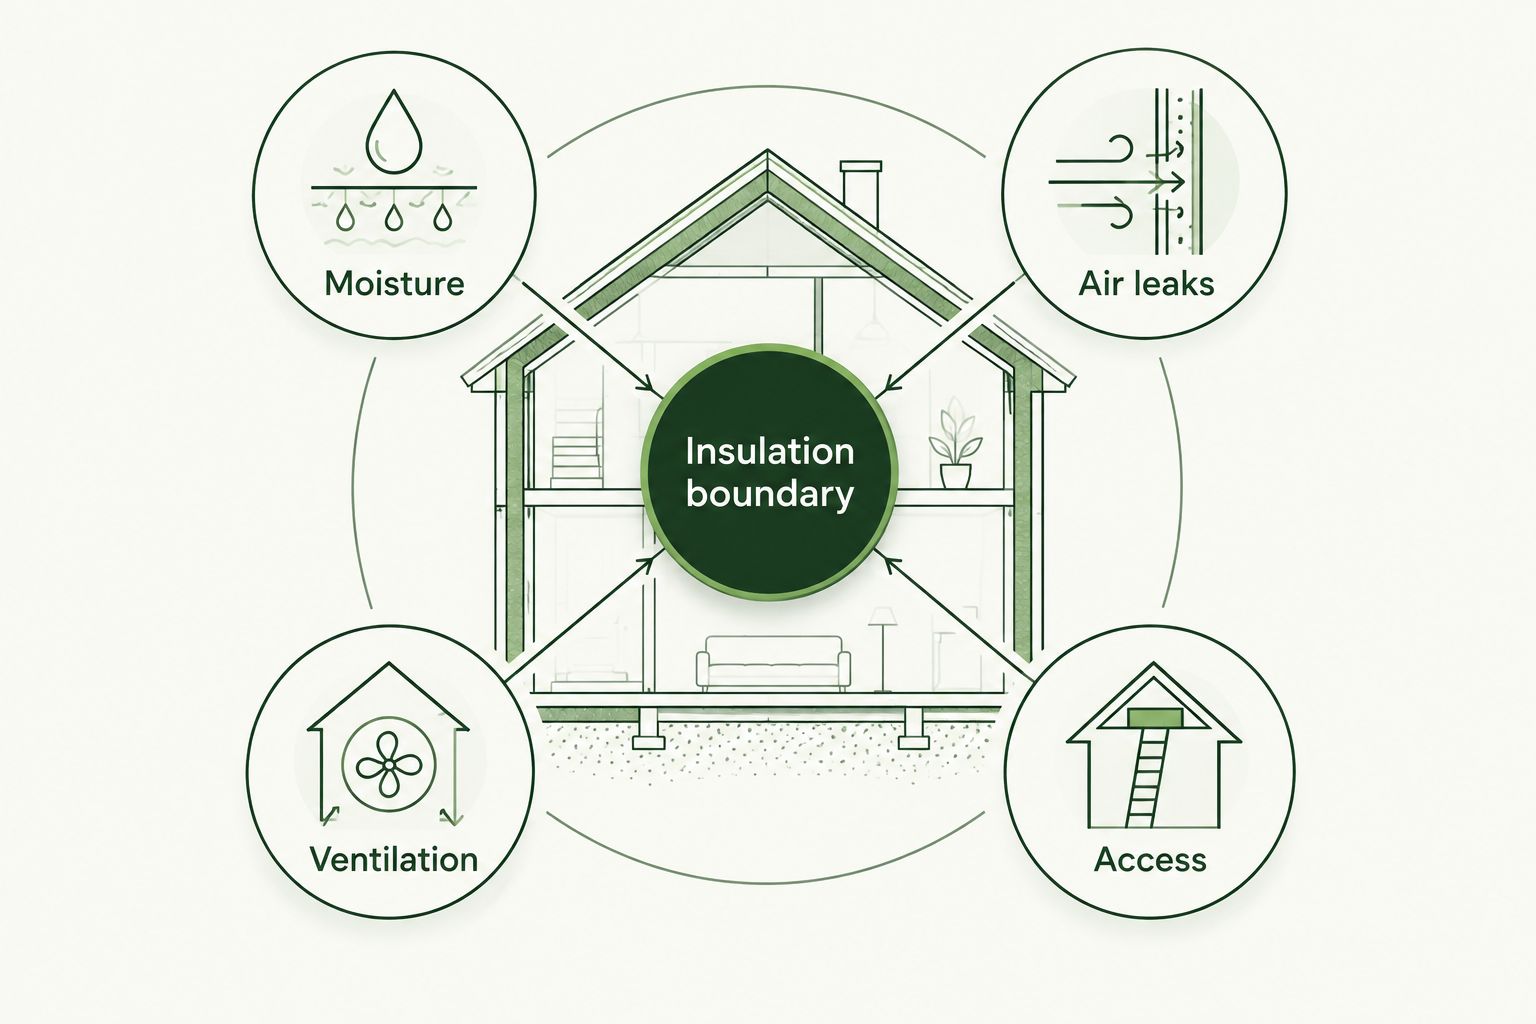
- Check the hidden gotcha: combustion air. A fuel-burning appliance that draws combustion air from the crawl space needs assessment before vents are sealed. Do not assume an existing furnace or water heater remains safe after encapsulation changes its air supply.
This is a contractor-coordination workflow, not a homeowner duct-cutting procedure. You can document conditions and monitor humidity; qualified trades should modify ducts, electrical connections, drains, and combustion-air arrangements.
Enclosure and equipment assessment
Document the existing conditions
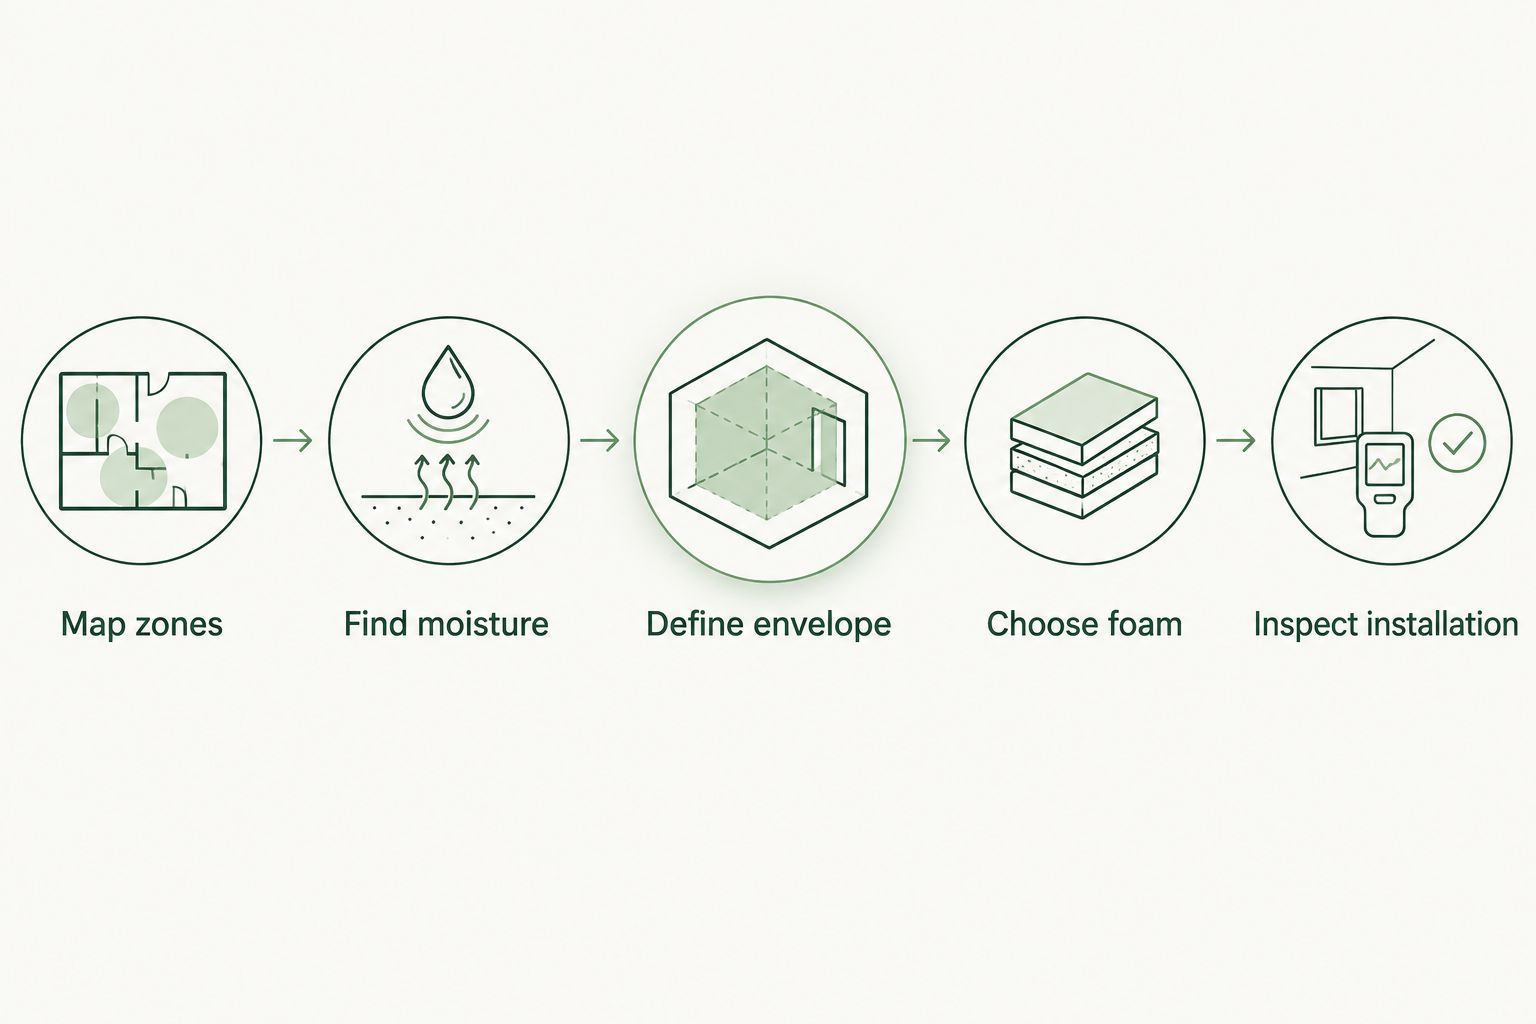
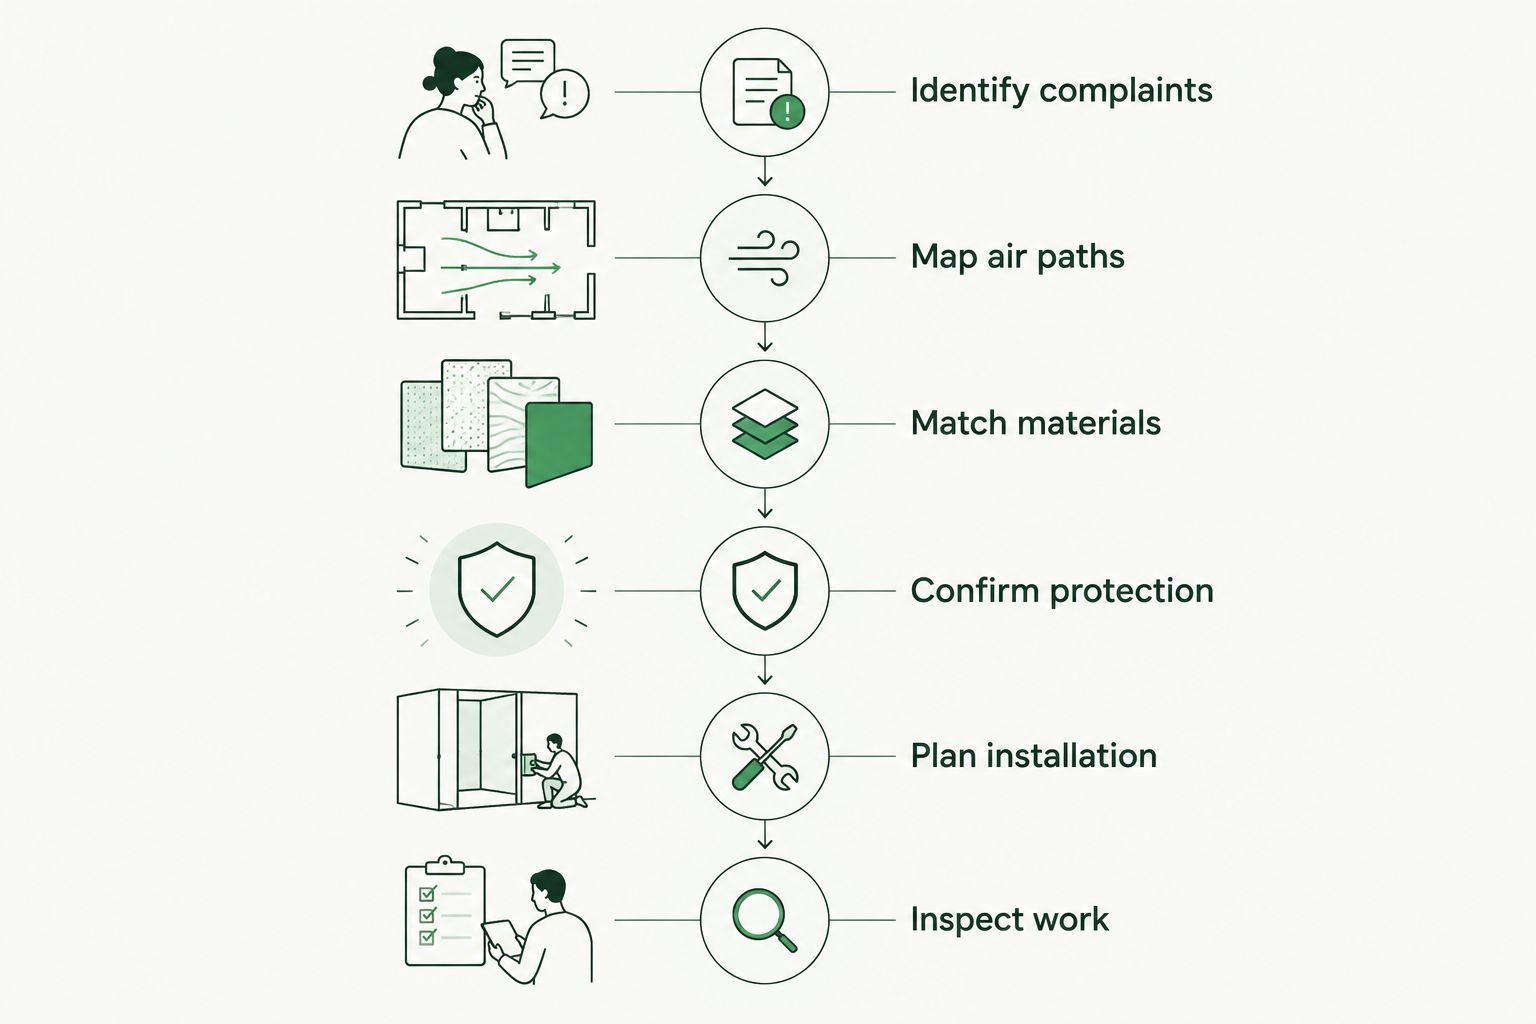
- Map water entry. Identify plumbing leaks, foundation seepage, drainage discharge, and visible condensation separately. Photograph each location so repairs address the source rather than just the wet surface.
- Map the air boundary. Record exterior vents, the access door, wall penetrations, rim joists, and connections to occupied rooms. Identify where the proposed sealed boundary will run.
- Inspect equipment and ducts. Have the HVAC contractor identify supply ducts, return ducts, equipment access needs, and combustion-air requirements. Check duct damage and leakage before concealing anything.
- Check moisture conditions. Place a humidity monitor where it measures representative crawl space air, away from a supply outlet or dehumidifier discharge. Record conditions alongside weather and equipment operation.
Expected result: You have a documented repair list and an enclosure plan that preserves required equipment access. No unresolved water entry gets hidden behind the liner or insulation.
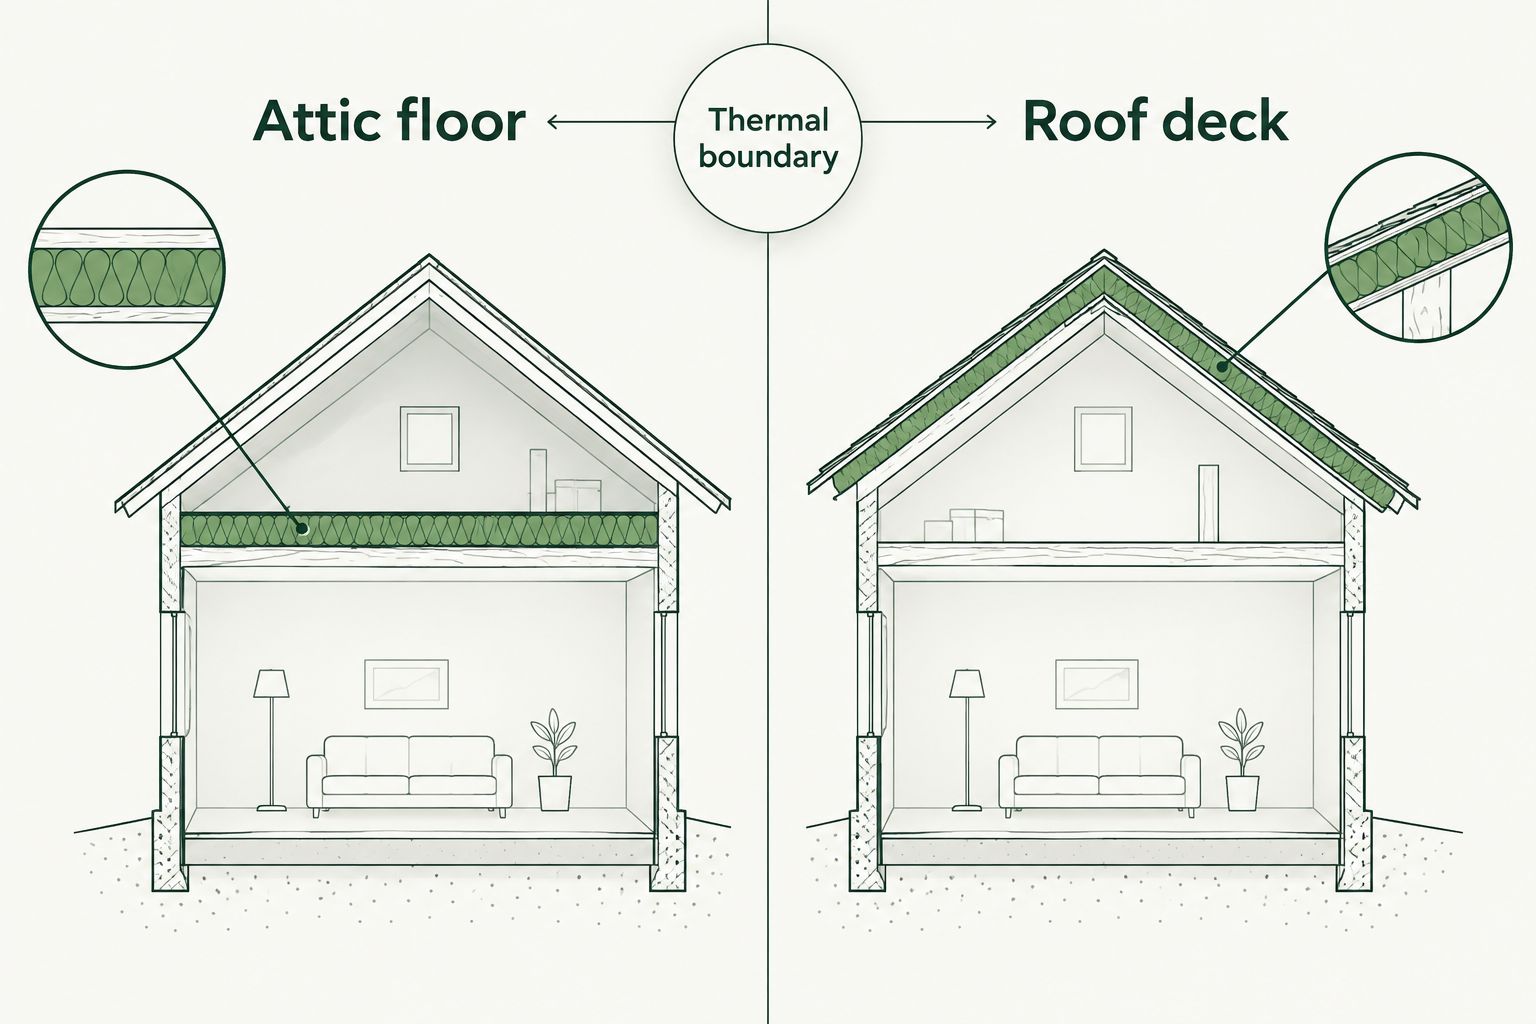
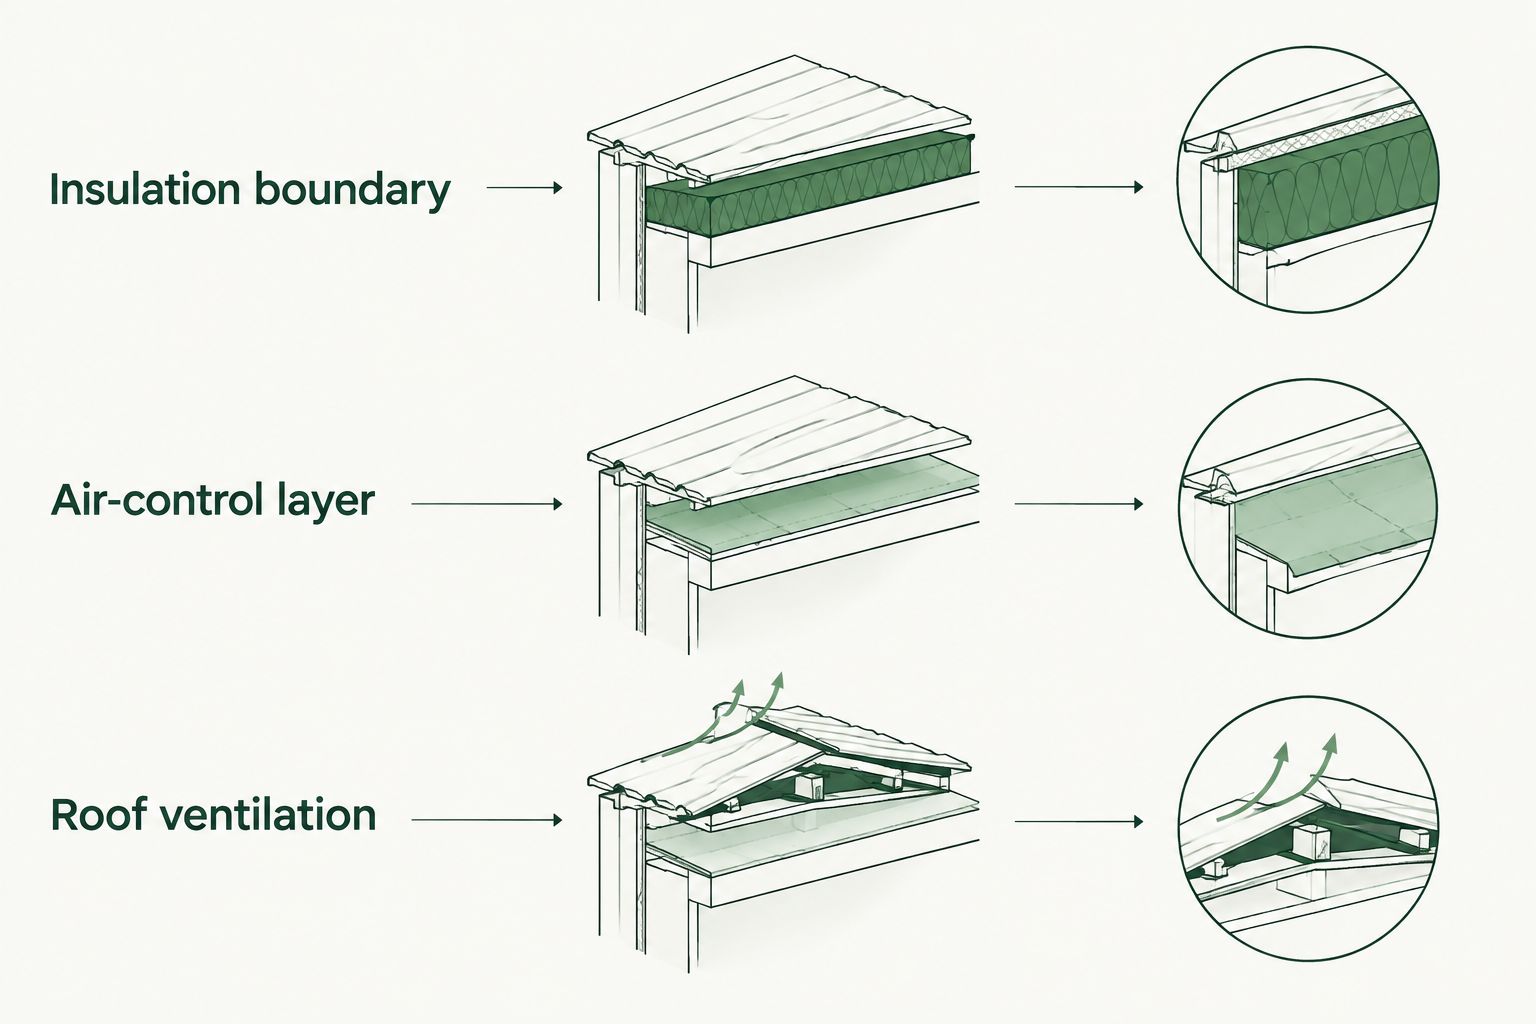
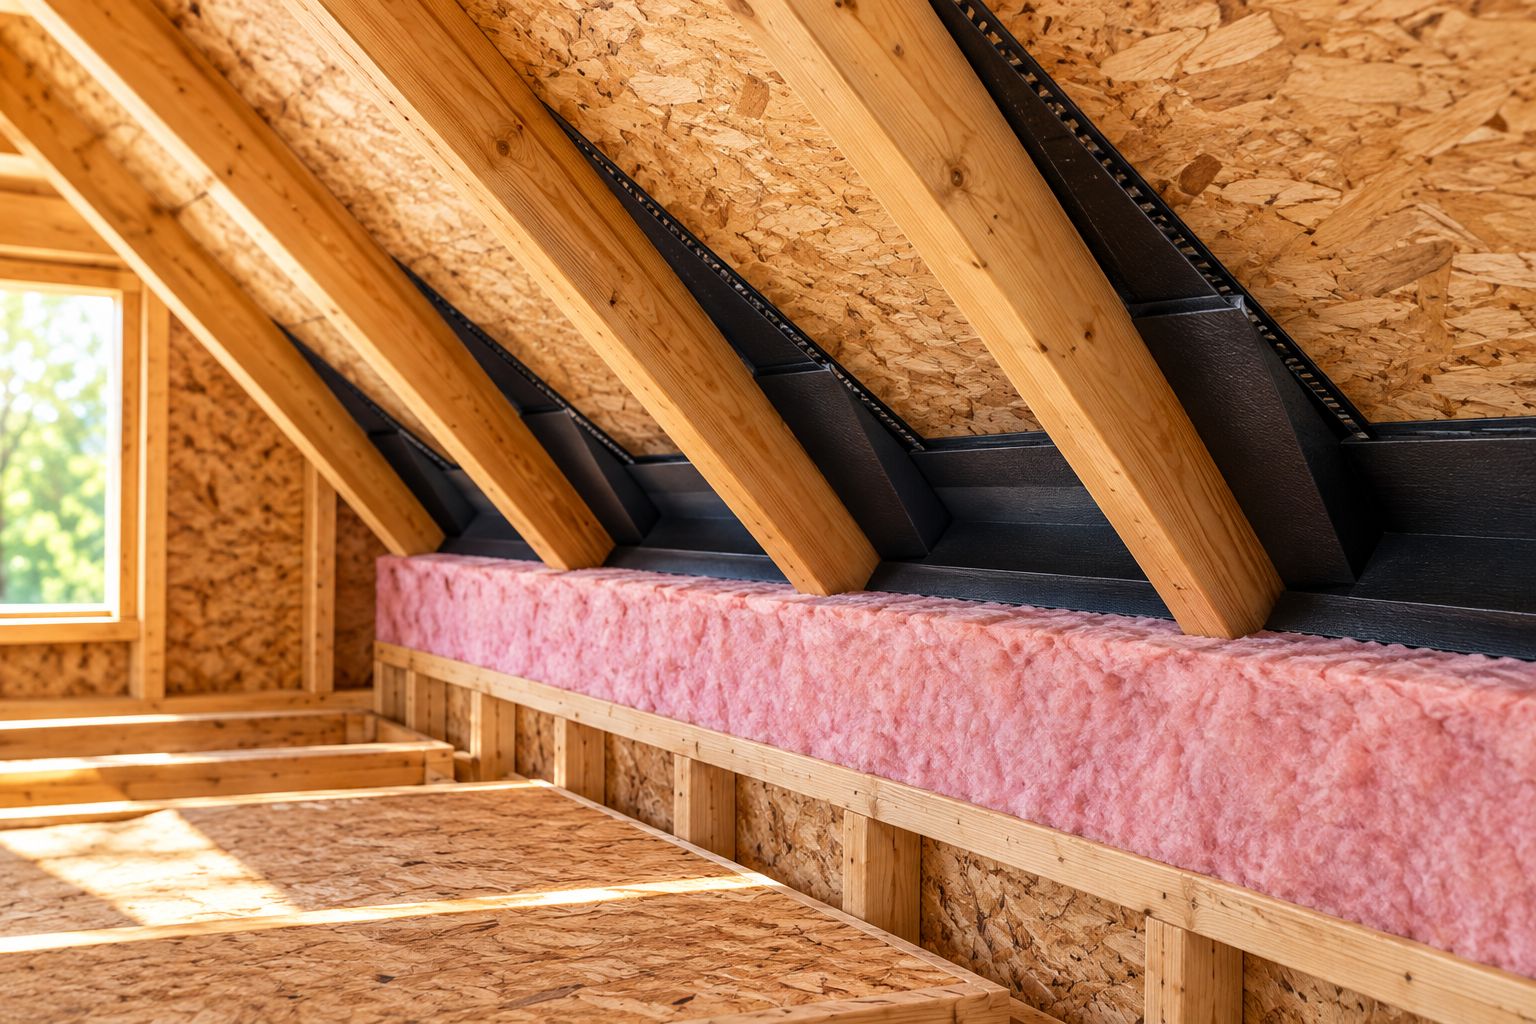
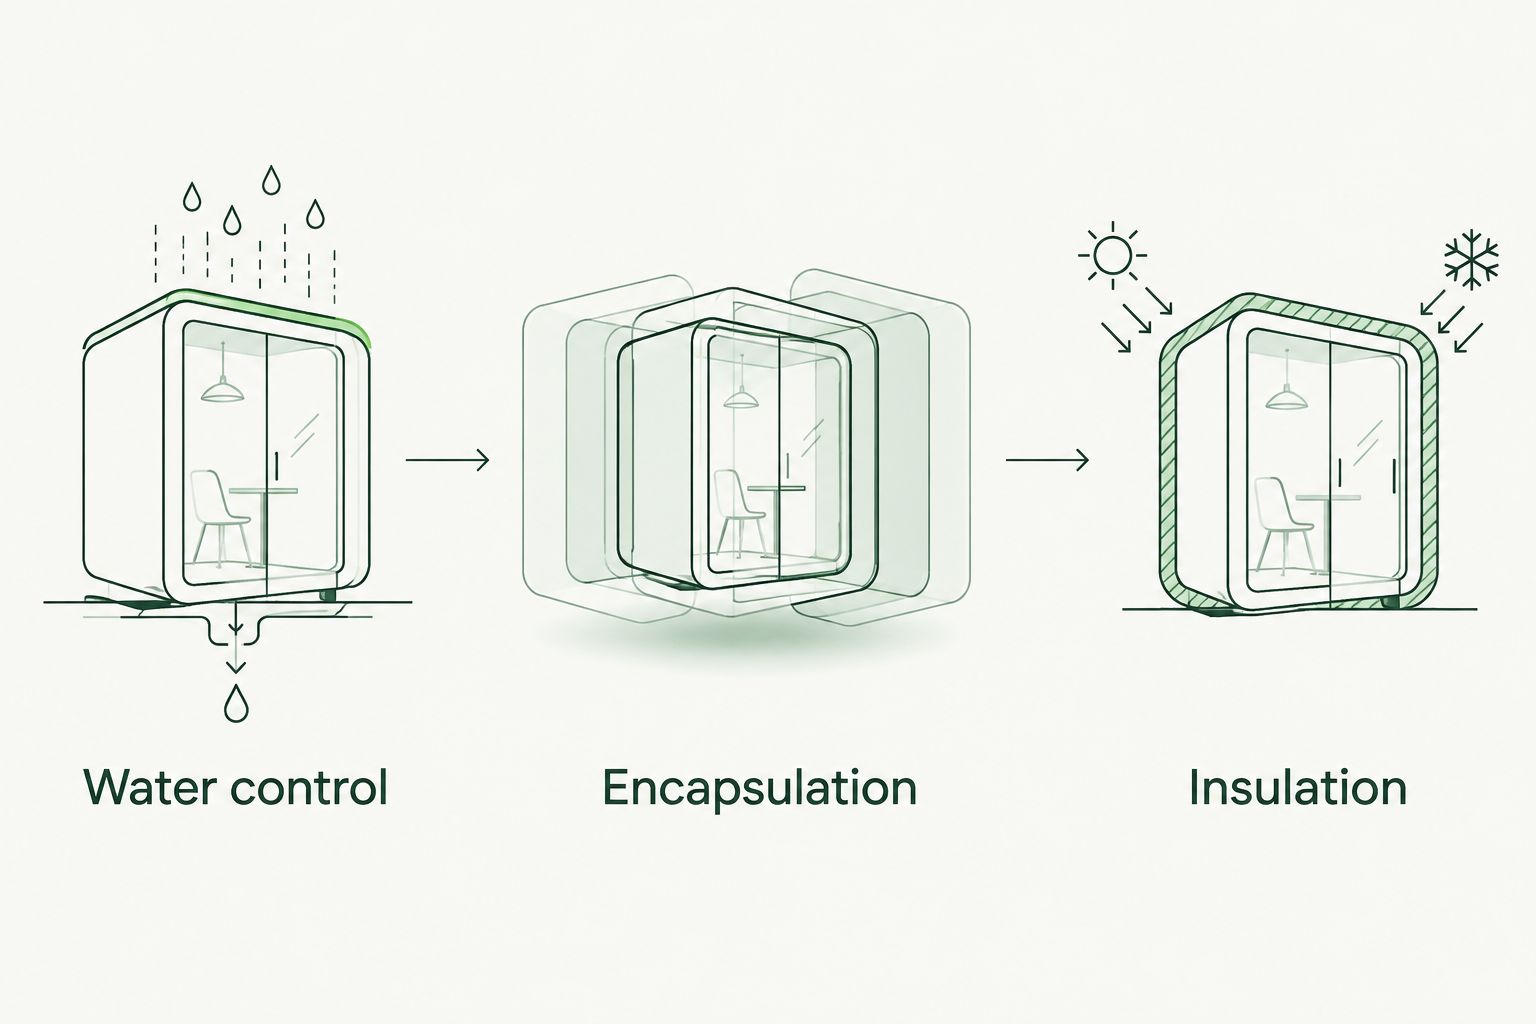
Insulation and encapsulation are different tasks. A ground vapor barrier limits moisture entering from soil; insulation limits heat transfer. Spray foam at a rim joist does not replace a sealed ground liner or a mechanical moisture-control plan.
Use the rim joist insulation guide to coordinate that junction with the rest of the enclosure. Keep required inspection areas and service clearances accessible.
Define the work boundaries
Put responsibility beside each task: drainage repairs, ground liner, insulation, duct sealing, mechanical controls, condensate drainage, and final inspection. Shared responsibility without a named owner leaves gaps.
For AT Foam Insulation's crawl space insulation work, specify the intended insulated surfaces and how they meet the encapsulation boundary. Ask the mechanical contractor to identify penetrations before those surfaces are finished.
Do not seal first and solve equipment access later. Access doors, filters, drains, and service panels must remain usable after the project.
Moisture-control design
Choose the mechanical approach
- Request a mechanical assessment. Have the HVAC contractor evaluate the existing system, the crawl space enclosure, and applicable requirements. A spare-looking duct does not establish that the system can serve another space.
- Select the moisture-control method. Compare conditioned supply air with a dedicated crawl space dehumidifier. Choose based on the building and operating conditions, not on which connection looks easiest.
- Document the air path. For a supply-air design, identify both the supply location and the approved transfer or relief path. For dehumidification, identify circulation and discharge locations.
- Document operation and drainage. Specify the controls, drain route, service access, and how moisture removal will work when heating or cooling is not running.
Expected result: The design identifies where air enters, where it goes, how moisture leaves, and who verifies performance.
| Approach | Best for | Benefit | Limitation |
|---|---|---|---|
| Conditioned supply air | Homes where a mechanical assessment supports serving the sealed crawl space | Integrates crawl space conditioning with existing HVAC operation | Requires airflow balancing and a designed transfer path; thermostat operation alone does not prove humidity control |
| Dedicated crawl space dehumidifier | Sealed crawl spaces needing humidity control independent of heating or cooling calls | Removes moisture under its own humidity control | Requires drainage, electrical service, maintenance, and suitable air circulation |
Neither approach fixes bulk water entry. A dehumidifier should not become the permanent answer to a plumbing leak, and supplied air should not compensate for an unfinished ground barrier.
Set a measurable humidity goal
EPA household mold guidance recommends keeping indoor relative humidity below 60 percent, ideally between 30 percent and 50 percent. Use those published indoor benchmarks as context—not as a substitute for the contractor's crawl space design.
For your 2026 commissioning plan, ask the contractor to state the operating humidity target and explain the control settings. Equipment instructions and actual building conditions govern the setup.
A reading taken directly beside dry discharge air can misrepresent the rest of the crawl space. Monitor representative locations, particularly spaces separated by foundation walls or obstructions.
The workflow follows a clear sequence. Skipping water repair or the airflow design makes the final humidity reading less useful.
HVAC connection and controls
Install the designed connection
- Repair water entry. Complete and inspect the drainage or plumbing work before enclosing the affected areas. Confirm that the source has been addressed, not merely dried temporarily.
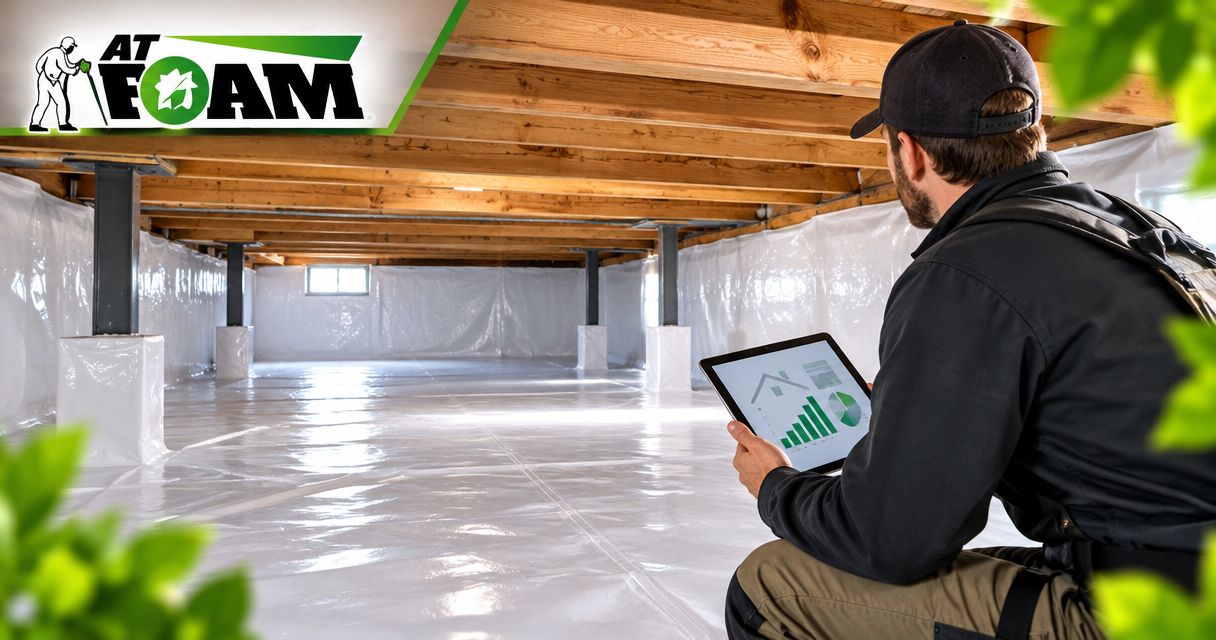
- Seal the enclosure. Complete the ground liner, seams, penetrations, wall connections, access-door treatment, and specified insulation. Preserve required inspection access and equipment clearances.
- Repair existing duct leakage. Have the HVAC contractor seal and repair ducts with materials suitable for the application. Accidental leakage is not a controlled conditioning method.
- Install the specified equipment. Have the contractor install the designed supply connection and transfer path, or the dedicated dehumidifier and drain. Follow the equipment manufacturer's installation instructions.
- Configure the controls. Have the installer explain the actual controller labels and operating settings for your equipment. Record the final settings in the handover documentation.
Expected result: The installed system matches the documented design, and the homeowner can identify its controls, drain route, and service access.
Do not connect an improvised return grille directly to the crawl space. That can draw odors and contaminants into the HVAC system. An engineered, code-compliant arrangement is different from treating the entire crawl space as a return-air pathway.
Controller names vary by equipment. Use the installed manual rather than instructions for an unrelated thermostat or dehumidifier. Ask the installer to demonstrate adjustment without changing protective settings.
Keep drainage and access visible
Route dehumidifier condensate to an approved destination. Where gravity drainage is unavailable, the installer must assess an appropriate condensate-pump arrangement and its failure protection.
Do not discharge collected water onto the crawl space ground or liner. That returns moisture to the space you are trying to dry.
Keep the drain connection, filter, and service panels reachable. A neat installation that requires dismantling encapsulation for routine maintenance is unfinished planning.
Commissioning and seasonal checks
Verify the completed system
- Inspect the enclosure. Check liner seams, penetrations, access-door closure, and areas disturbed during mechanical work. Repair new openings before accepting the installation.
- Check mechanical operation. Have the contractor verify specified airflow, the transfer path, duct condition, and equipment operation. Include combustion-safety checks where relevant.
- Test condensate removal. Confirm that water reaches the approved drain and that any pump operates as intended. Inspect connections for leakage.
- Review humidity readings. Compare representative readings with the documented target under actual operating conditions. Investigate persistent elevated humidity rather than repeatedly lowering a setting.
- Collect the handover record. Keep equipment manuals, final control settings, inspection records, maintenance instructions, and photographs of concealed work.
Expected result: You have evidence that the enclosure, airflow, controls, and drainage function together—not just evidence that equipment turns on.
For a 2026 completion, include a follow-up check when weather and HVAC operation differ from installation day. One dry reading during continuous heating does not establish performance when the thermostat stops calling.
AT Foam Insulation's insulation scope and the mechanical contractor's scope should meet at a final inspection. Check the work junctions, especially penetrations and access points disturbed after sealing.
Variant: humidity control without a heating or cooling call
A dedicated crawl space dehumidifier is the adjacent workflow when moisture removal must operate independently of the home's thermostat. It does not require an improvised connection to the central return duct.
- Assess the enclosure first. Confirm that water repairs and encapsulation are complete before sizing or selecting equipment.
- Plan circulation. Have the contractor account for foundation partitions and isolated areas. Dry air near the unit does not prove that distant corners are controlled.
- Install drainage and power. Provide the manufacturer-required electrical connection and an approved condensate route.
- Set and verify humidity control. Document the settings, test operation, and compare the equipment sensor with representative crawl space readings.
Best for: sealed crawl spaces that need moisture removal when the main HVAC system is idle. The trade-off is separate equipment maintenance and drainage responsibility.
A dehumidifier removes water vapor; it does not supply fresh air or replace a required ventilation arrangement. Keep those functions separate in the design.
Troubleshooting
Humidity stays high
Check water entry, liner seams, exterior openings, condensate drainage, and equipment operation. Compare readings away from the equipment before deciding that capacity is the problem.
Fix the source before increasing mechanical output. Persistent moisture behind a liner needs investigation, not a lower controller setting.
Crawl space odors enter occupied rooms
Have the HVAC contractor inspect return-duct leakage and unintended air pathways. Investigate odor sources and pressure relationships rather than adding fragrance or opening another duct.
Stop using any improvised return connection until it has been assessed. Odor movement is a reason to inspect the air path.
Moisture returns when the thermostat is idle
Check whether the design relies entirely on heating or cooling calls. Have the contractor reassess controls and independent moisture removal against measured conditions.
Do not set continuous fan operation as a universal fix. Fan behavior must match the equipment and moisture-control design.
The liner gets wet near the equipment
Inspect condensate tubing, drain connections, pump operation, and nearby plumbing. Distinguish a drain leak from condensation before changing insulation.
Repair the leak and dry affected materials. Do not cover the wet area with another liner layer.
Customize your workflow
For a 2026 retrofit, expand the scope around the measured problem—not around extra equipment. An isolated crawl space compartment needs an airflow assessment; damaged ducts need repair; recurring groundwater needs drainage work.
Ask for a single handover sheet listing the enclosure boundary, mechanical method, humidity target, maintenance tasks, and responsible contractor. Keep it with the equipment manuals so future service work does not undo the encapsulation.
Treat every new penetration as an air-sealing task. Plumbing, wiring, and duct changes after completion need compatible sealing and another inspection of the disturbed area.
FAQ
Can I connect an encapsulated crawl space to my HVAC system?
Yes, when a mechanical assessment supports a designed connection with an appropriate air path. Do not cut a supply opening without addressing airflow, moisture control, equipment operation, and applicable local requirements.
Does crawl space encapsulation always need a dehumidifier?
No, a dedicated dehumidifier is not the only mechanical moisture-control approach. The contractor must determine how the sealed crawl space will control humidity, including periods when heating and cooling are idle.
Can my crawl space become an HVAC return-air plenum?
Do not turn a crawl space into an improvised return-air plenum. Have an HVAC contractor assess any proposed return arrangement for contaminants, pressure effects, and code compliance.
What humidity should an encapsulated crawl space have?
Use the operating target established for the crawl space design and installed equipment. EPA household guidance recommends indoor relative humidity below 60 percent, ideally between 30 percent and 50 percent; those benchmarks do not replace a site-specific assessment.
Should I seal crawl space vents before checking the furnace?
No, check combustion-air requirements before sealing vents around fuel-burning equipment. An appliance that draws combustion air from the crawl space needs a safe, approved arrangement after encapsulation.
Does spray foam replace a crawl space vapor barrier?
No, spray foam insulation and a ground vapor barrier perform different jobs. AT Foam Insulation provides crawl space spray foam insulation; coordinate that work with the ground liner and mechanical moisture-control design.
How do I know the HVAC connection is working?
Verify the enclosure, designed airflow, equipment operation, drainage, and representative humidity readings together. A running fan or one dry reading beside an outlet is not enough to confirm crawl space performance.
One last thing
Photograph the sealed enclosure before mechanical work—and again afterward. Comparing those records helps you find penetrations, disturbed seams, and access-door changes that a humidity reading cannot locate.
The final inspection belongs after the last trade finishes. Encapsulation is only complete when the finished air boundary remains intact.
Related guides
- Crawl space encapsulation packages for older PNW homes
- Insulation for crawl space moisture and mold prevention
- Crawl space encapsulation for investors