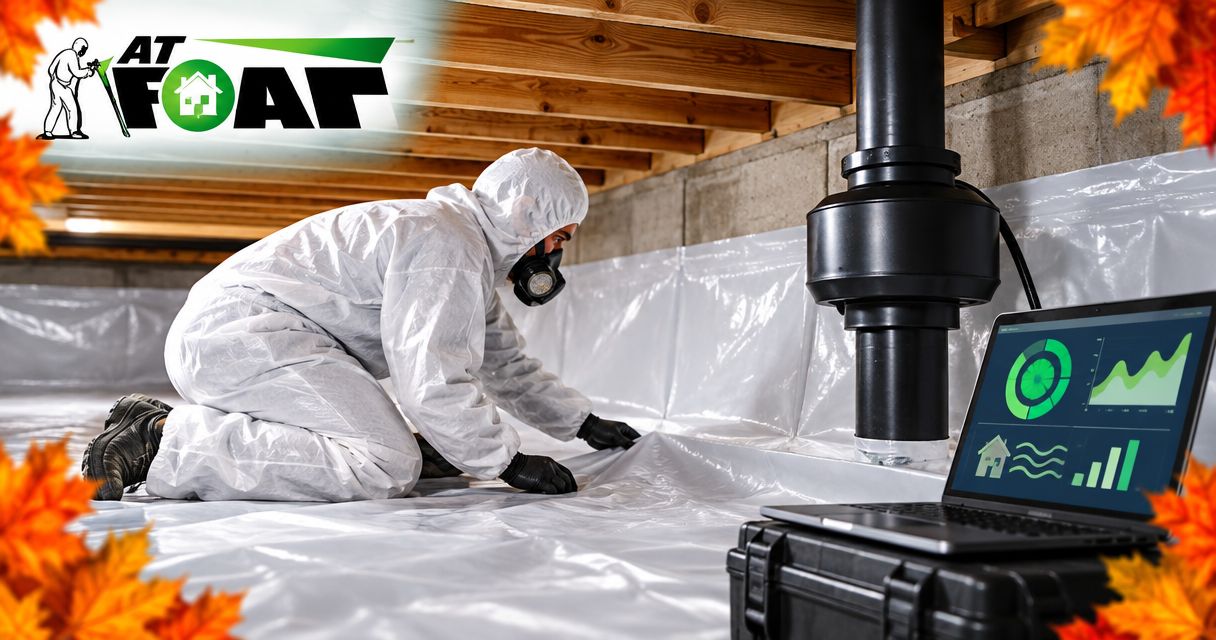
Instead of treating a sealed crawl space as proof that radon is controlled, connect crawl space encapsulation and radon mitigation through testing, a coordinated liner-and-suction plan, and a post-installation test. Your 2026 workflow starts with a radon measurement—not insulation, a dehumidifier, or a fan bought before the crawl space is assessed.
- Crawl space encapsulation radon mitigation needs testing; a sealed liner alone does not prove radon control.
- AT Foam Insulation fits local crawl space insulation work; use a qualified radon professional for mitigation design.
- Resolve drainage before sealing, and coordinate suction piping before the liner goes down.
- Verify the finished system with an indoor radon test, not the fan gauge alone.
Why this matters
Radon is a radioactive gas released from soil and rock. You cannot see or smell it. It can enter your home through ground-contact spaces, including a dirt-floor crawl space, and long-term exposure increases lung cancer risk.
Encapsulation covers exposed soil with a sealed vapor barrier—a liner that limits ground moisture entering the crawl space. Active submembrane depressurization adds suction beneath that liner and exhausts soil gas outdoors. They work together, but they are not the same job.
AT Foam Insulation is best for Pacific Northwest homeowners needing local crawl space spray foam insulation. The veteran-owned, licensed and insured contractor serves Seattle, Tacoma, Olympia, the Eastside, and the greater Pacific Northwest. Start with AT Foam Insulation for the insulation scope; have a qualified radon professional assess the radon scope.
In wet Pacific Northwest winters, water management belongs in the same plan. A liner does not repair a drainage problem, and spray foam does not replace a radon system.
Before you start
- Arrange testing and access. Have an indoor radon test, access to every crawl space compartment, and any previous radon reports. Follow the test device's placement and operating instructions. Measure the occupied home, not just the crawl space.
- Bring the right trades into one plan. Coordinate the encapsulation installer, insulation contractor, qualified radon professional, and electrician where electrical work is required. Identify drainage, structural repairs, combustion appliances, and local permit requirements before installation.
- Catch the hidden conflict. Decide how the liner, sump cover, access hatch, and suction pipe will connect before anything is sealed. An open sump or a poorly sealed pipe penetration can let the suction system draw crawl space air instead of effectively drawing from beneath the membrane.
Do not enter a flooded crawl space or one with exposed electrical hazards. Have those conditions corrected before inspections or measurements that require entry.
Which parts belong in the system?
Use this comparison to keep the scopes separate. None of these options is a substitute for a measured indoor radon result.
| Component | Best for | Main benefit | Limitation |
|---|---|---|---|
| Crawl space encapsulation | Separating exposed soil from crawl space air | Limits ground moisture entry when the liner and its connections are sealed | A liner alone does not establish radon control; tears and unsealed edges undermine it |
| Active submembrane depressurization | Reducing soil-gas entry from a dirt-floor crawl space | Creates suction beneath the liner and exhausts collected gas outdoors | Needs site-specific design, electricity, an operating fan, and follow-up testing |
| Crawl space dehumidifier | Managing humidity in an enclosed crawl space | Removes moisture from crawl space air | Does not capture or remove radon; needs drainage and maintenance |
Choose equipment by the problem it solves. A dry crawl space can still have a radon problem. A successful radon system does not prove that drainage, wood moisture, or insulation is correct.
Establish the radon baseline
This first configuration unit gives the radon professional a measured starting point. For your 2026 project, use EPA residential radon guidance to interpret the result rather than judging risk from your neighborhood or the appearance of the crawl space.
- Select the test location. Follow EPA guidance and the device instructions for the lowest level of your home suitable for occupancy. Keep the device away from drafts, excessive humidity, and other locations excluded by its instructions.
- Run the test correctly. Follow the required closed-house conditions for a short-term test. Keep the device in place throughout the test period. Record the location, dates, and unusual conditions.
- Review the result. EPA recommends fixing homes at 4 picocuries per liter, or 4 pCi/L, and above. EPA also recommends considering a fix between 2 and 4 pCi/L. Follow its confirmation-testing guidance when deciding on mitigation.
- Keep the report. Give the radon professional the actual result and test details, not a verbal summary. Include any older reports showing changes after renovations or equipment work.
Expected result: You have a documented indoor radon measurement and a clear next testing or mitigation decision. You have not mistaken a crawl space reading for the exposure level in your living area.
EPA states that no radon level is known to be completely safe. The action level is a decision threshold, not a guarantee of zero risk.
Coordinate water, liner, and suction details
Plan the physical connections before the crew installs the membrane. Crawl spaces have different shapes, soil conditions, foundations, and obstructions. The suction layout must match yours.
- Resolve bulk water. Identify roof runoff, plumbing leaks, groundwater entry, and standing water. Have the responsible contractor correct the source and assess wet or damaged wood before covering the ground.
- Map the crawl space. Mark interior footings, separate compartments, piers, the access hatch, and existing drainage equipment. Ask the radon professional whether those features interrupt suction beneath the planned liner.
- Agree on the suction layout. Have the radon professional specify collection points, pipe routing, fan location, exhaust location, and the connections to the membrane. Do not choose a fan from crawl space size alone.
- Write down responsibilities. Name who seals the liner to walls and piers, who seals penetrations, who provides electrical work, and who performs the final radon test. Include access for future repairs.
Expected result: The trades share one layout. No one needs to cut through a finished liner simply because the radon pipe, sump access, or wiring route was overlooked.
For drainage coordination, use the guide to connecting crawl space encapsulation to a sump pump system. A sump that remains serviceable and properly sealed belongs in the plan, not under an inaccessible patch.
For a 2026 retrofit, photograph the exposed ground, pipe routes, and connections before the work hides them. Keep those actual job photos with the system records.
Install the membrane and radon system
The membrane is both a moisture-control layer and part of the soil-gas collection system. Its joints matter. Insulation serves a different purpose: reducing heat flow through the building enclosure.
- Prepare the ground. Have the installer remove sharp debris and address surfaces that would puncture the liner. Leave inspection and service access where required.
- Seal the membrane. Have the installer complete the specified seams, perimeter connections, pier details, and pipe penetrations with compatible materials. Check the hatch and sump details against the agreed layout.
- Install the suction equipment. Have the radon professional connect the collection piping, locate the fan and exhaust to applicable requirements, and arrange the necessary electrical connection. This is not a homeowner fan-sizing exercise.
- Coordinate insulation and ventilation. Confirm the insulation location, required fire protection, and the crawl space's ventilation or conditioning approach before closing the work. Have fuel-burning appliances assessed when enclosure or pressure conditions change.
Expected result: The liner is continuous, service openings remain usable, and the radon system operates with its specified piping and monitoring device. The insulation work does not block system access.
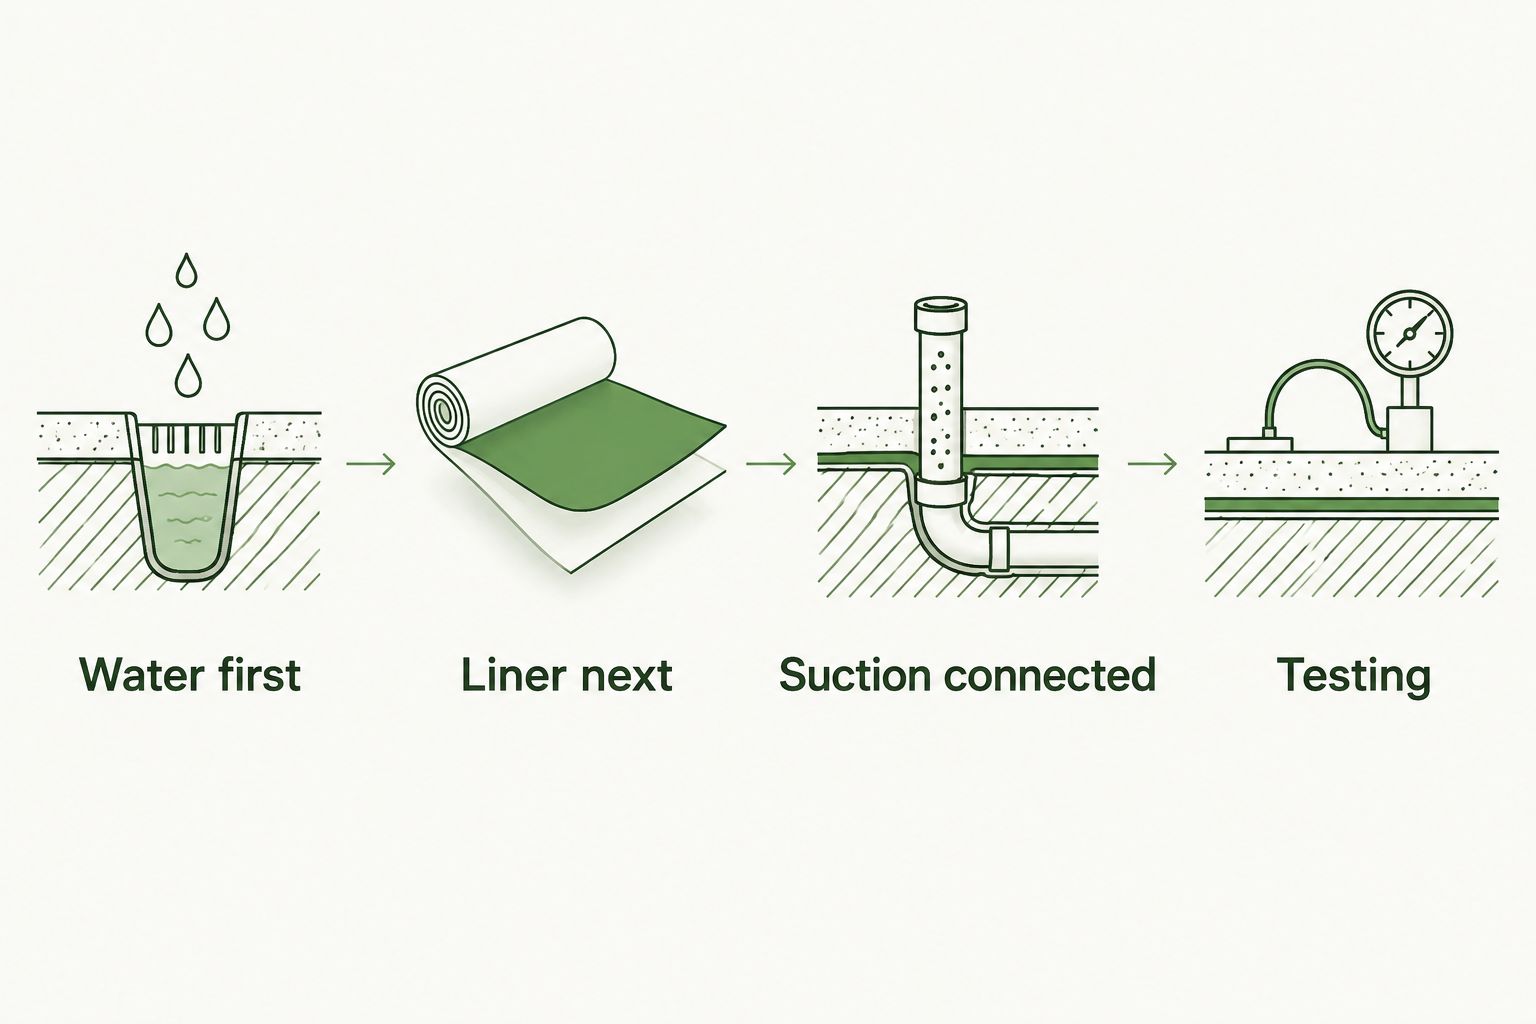
The installation sequence is simple to remember: Water first, liner next, suction connected, testing last. Each handoff needs inspection before the next trade covers it.
AT Foam Insulation provides open-cell and closed-cell spray foam installation. Open-cell foam has a less dense cell structure; closed-cell foam has a denser structure. Neither material is a radon fan, and neither eliminates the need to test the finished home.
Ask the insulation contractor to explain the proposed assembly and its R-value—the measure of resistance to heat flow. The radon professional should separately explain how the suction system controls soil-gas entry.
Verify operation and hand over the records
A running fan is not the acceptance test. The finished system needs an indoor radon measurement under the proper test conditions.
- Record the operating indicator. Have the radon professional explain the manometer, a gauge showing pressure difference, or the installed system's monitoring device. Record the normal operating indication. It does not display your home's radon concentration.
- Test after installation. EPA guidance calls for a post-mitigation test within 30 days, but no sooner than 24 hours after the system begins operating. Follow the test instructions and the radon professional's handoff requirements.
- Review the measured result. If the result remains elevated, return it to the radon professional for diagnosis. Do not accept fan noise, a moving gauge, or a dry liner as evidence of success.
- Save the handoff package. Keep the test report, equipment information, operating instructions, installer contact details, and photographs together. Record who handles liner repairs and who handles radon-system service.
Expected result: You have a measured post-installation result and know how to recognize a system problem. Your 2026 completion record includes more than an invoice and a picture of the fan.
EPA recommends retesting at least every 2 years after mitigation. Retest after substantial building changes, too. Changes to air sealing, HVAC operation, or the crawl space enclosure can affect the conditions under which the original result was obtained.
What if the crawl space is already encapsulated?
Keep a sound liner if the radon professional finds it suitable for the mitigation design. Do not assume it must all come out, and do not assume its existing seals are sufficient.
- Test the occupied home and give the report to the radon professional.
- Inspect the membrane, perimeter, piers, sump cover, and access details for defects.
- Have the professional assess collection routes beneath the liner and any separated compartments.
- Complete the specified pipe connections and repairs, then repeat the post-installation test.
Best for: Homeowners with an existing liner who need to add verified radon control. The benefit is retaining usable work; the limitation is that hidden conditions and inaccessible sections still need assessment.
For a 2026 insulation or HVAC update, tell the radon professional what will change before work starts. Repeat testing after the update rather than carrying an old result forward as proof.
Troubleshooting
- The fan runs, but radon remains elevated. Ask the radon professional to check the collection layout, leakage, isolated crawl space sections, and other entry routes. Do not install a larger fan without diagnosis.
- The gauge indication changes or disappears. Check whether the system has power without opening electrical equipment. Contact the radon professional and follow the system's service instructions. A gauge change is an operating warning, not a radon measurement.
- The liner tears during plumbing work. Have the membrane repaired with compatible materials and its seals inspected. Tell the radon professional what changed and arrange follow-up testing.
- Water collects above or below the liner. Have the drainage source and membrane details assessed. A dehumidifier does not remove standing water or repair a leak.
- A damp smell remains after mitigation. Investigate moisture, drainage, and damaged materials separately. Radon has no smell, so odor cannot confirm whether mitigation is working.
Customize your workflow
Keep moisture control, insulation, and radon control connected without confusing their jobs. Ask AT Foam Insulation about the crawl space insulation scope and a free estimate. Ask the qualified radon professional about testing, suction design, and system service.
Include the rim joist—the band of framing around the edge of your floor—in the insulation discussion. Keep the radon piping, monitoring device, and access openings visible and reachable after that work.
For your 2026 maintenance plan, assign someone to check the operating indicator, inspect accessible liner sections after service visits, and retain test results. Use the equipment instructions for maintenance intervals rather than an improvised schedule.
FAQ
Does crawl space encapsulation eliminate radon?
No. Crawl space encapsulation alone does not prove radon control. A sealed membrane can form part of a mitigation system, but an indoor radon test verifies the result.
Should I test for radon before encapsulating my crawl space?
Yes. Test before encapsulation so the radon professional has a baseline and can coordinate the collection system with the liner. Test again after the finished work.
What radon level means I need mitigation?
EPA recommends fixing homes at 4 pCi/L and above and considering a fix between 2 and 4 pCi/L. Follow EPA confirmation-testing guidance when deciding on mitigation; no radon level is known to be completely safe.
Will a crawl space dehumidifier remove radon?
No. A dehumidifier removes moisture from air, not radon. Use indoor radon testing and a mitigation system designed for the home when mitigation is needed.
Can a radon system be added under an existing crawl space liner?
Yes, when the existing liner is suitable for the mitigation design. A qualified radon professional must assess its condition, seals, access, and collection routes before connecting the system.
How soon should I test after a radon system is installed?
EPA guidance calls for testing within 30 days, but no sooner than 24 hours after the system starts operating. Follow the test device instructions and retain the measured result.
Does AT Foam Insulation install radon mitigation systems?
AT Foam Insulation’s stated services cover attic, crawl space, and wall spray foam insulation. Arrange radon assessment and mitigation design with a qualified radon professional, and coordinate that work with the insulation scope.
One last thing
The gauge on a radon pipe measures pressure difference, not radon concentration. Learn its normal indication, but keep testing the air you breathe. That distinction prevents a running fan from becoming false reassurance.
Related guides
- Connect crawl space encapsulation to your HVAC system
- Connect crawl space encapsulation to a dehumidifier system
- Insulation for rim joists in crawl spaces
Get a FREE Quote for your crawl space insulation: call 425-999-8493.