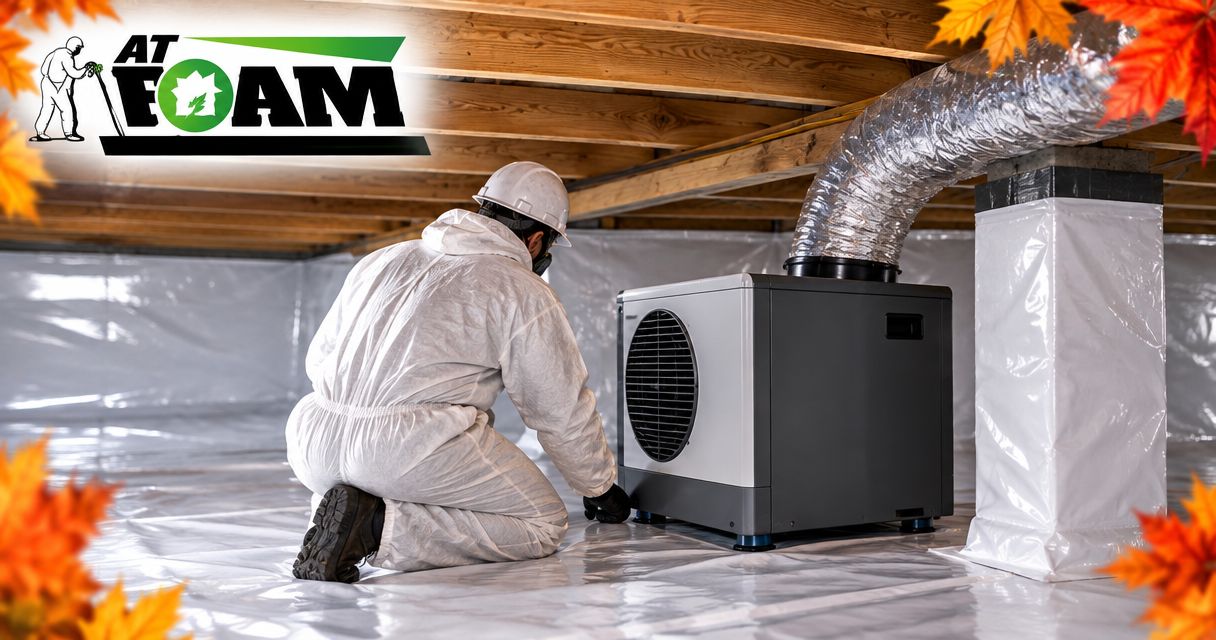
Instead of emptying buckets and drying damp crawl-space air by hand, connect a crawl space encapsulation dehumidifier system with sealed ground coverage, a permanent condensate drain, and humidity-based controls. This 2026 guide explains how to coordinate those parts without trapping water, blocking airflow, or treating insulation as a substitute for drainage.
- A crawl space encapsulation dehumidifier system needs sealed ground coverage, reliable drainage, and unrestricted airflow.
- AT Foam Insulation serves homeowners and businesses needing crawl space insulation in Seattle, Tacoma, Olympia, and the Pacific Northwest.
- Fix standing water before installing a dehumidifier; drying air does not stop groundwater.
- Set humidity control around 50% relative humidity, then verify conditions away from the equipment.
Why this matters
Encapsulation and dehumidification handle different moisture paths. A sealed ground vapor barrier limits moisture entering from soil; a dehumidifier removes water vapor from the air and sends the collected water to a drain. Neither repairs a plumbing leak or stops water entering through the foundation.
Start with liquid water. If rain leaves puddles beneath the house, review the crawl space encapsulation and sump pump connection guide before adding drying equipment.
AT Foam Insulation is best for homeowners and businesses seeking crawl space insulation services in the Pacific Northwest. Dehumidifier sizing, electrical connections, and condensate disposal need their own qualified trades when those tasks fall outside the insulation work.
Before you start
- Check the crawl space first. Identify plumbing leaks, standing water, damaged wood, loose barrier seams, and existing insulation. Resolve active water entry and obtain an assessment of suspected structural damage before covering anything.
- Gather the equipment instructions and access requirements. You need the dehumidifier manual, its approved drain components, a suitable electrical supply, humidity measurement, and access for filter removal and service. Have an electrician verify the circuit and required protection.
- Choose the drain destination before placement. A gravity drain needs continuous fall; a pumped drain needs equipment rated for the actual lift and route. Never close vents serving combustion equipment or alter its air supply without a qualified assessment.
For a 2026 installation, ask the local building department which permits and crawl-space requirements apply. Do not assume sealing vents alone creates an acceptable encapsulated assembly: moisture control, insulation, pest inspection access, and combustion safety all affect the plan.
Crawl-space enclosure and water control
The first configuration unit is the enclosure, not the appliance. A dehumidifier inside a crawl space with open seams and active leaks is working against moisture that keeps entering.
- Locate water sources. Inspect after wet weather and check plumbing during normal use. Distinguish surface drainage, groundwater, plumbing leaks, and condensation; each needs a different correction.
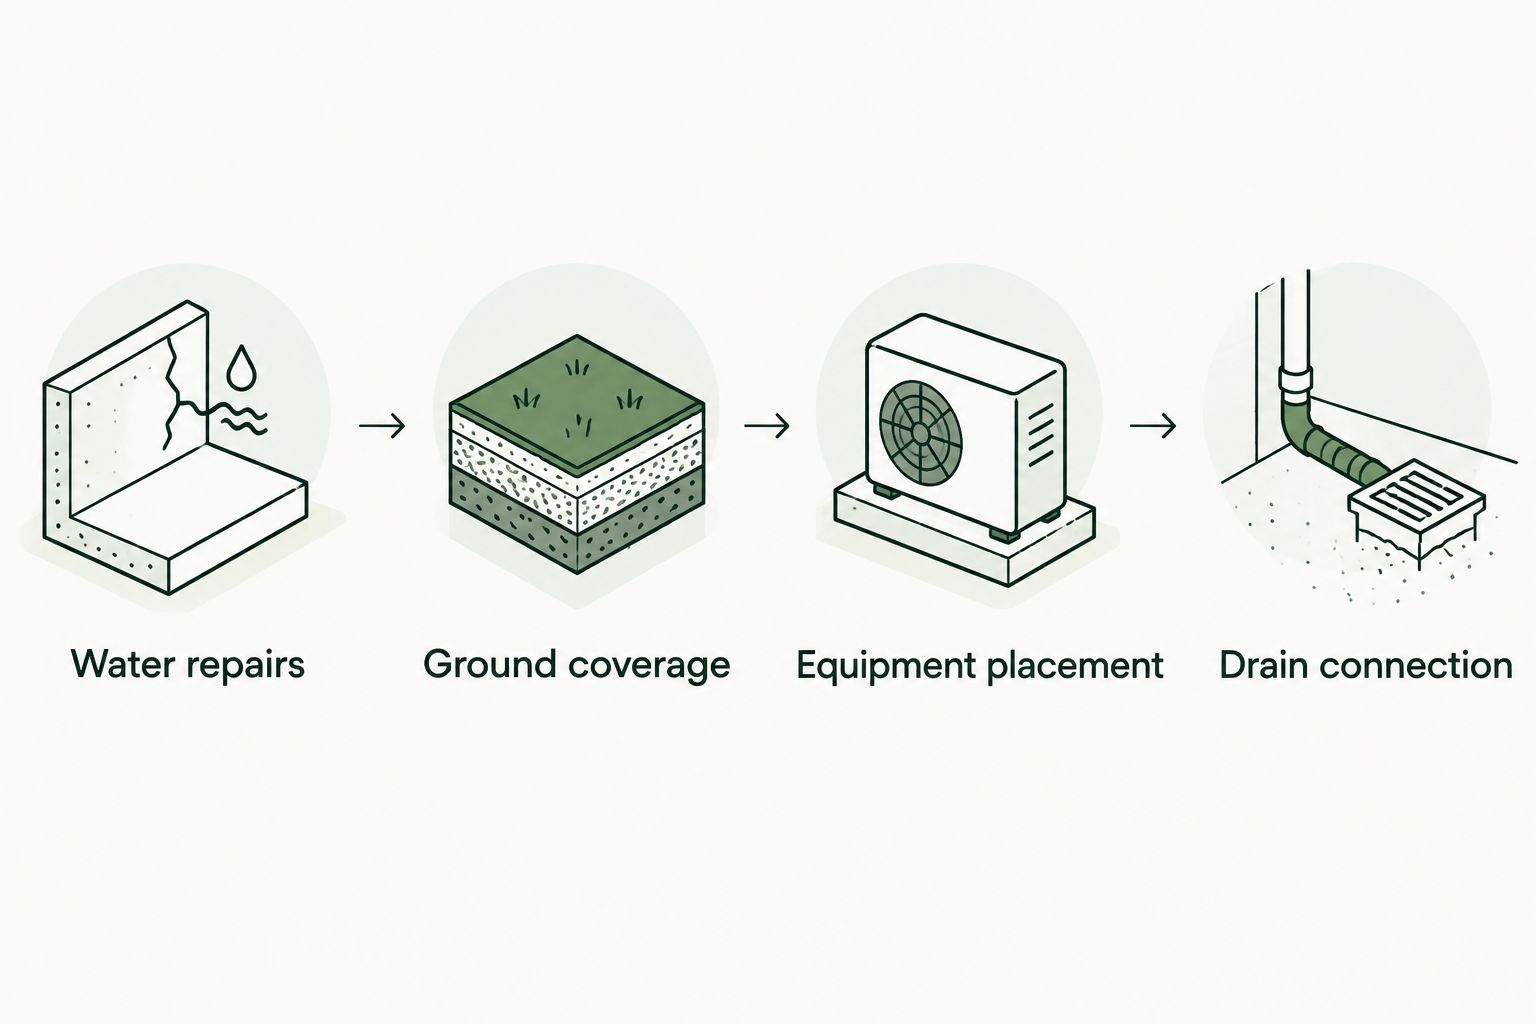
- Complete water repairs. Correct the source before installing the barrier or equipment. Where a sump system is needed, keep its service access clear and coordinate the enclosure around it.
- Specify the enclosure details. Have the installer define ground coverage, wall attachment, pier seals, access-door seals, and penetrations. Preserve required pest inspection areas instead of covering foundation details indiscriminately.
- Check the finished barrier. Inspect seams, corners, pipe penetrations, and areas around supports. Repair tears and failed seals using materials approved for the barrier system.
- Coordinate insulation separately. Decide which surfaces belong inside the thermal boundary. Crawl-space wall insulation and floor insulation represent different assembly designs; do not mix them without a clear plan.
Expected result: The ground barrier is continuous, water-entry repairs are complete, and the enclosure has a defined moisture-control strategy. No standing water is hidden beneath the finished work.
AT Foam Insulation provides crawl space insulation services. Coordinate that insulation scope with the enclosure installer so the crew does not cover unresolved leaks, required inspection areas, or equipment access.
Equipment placement and airflow
Select equipment for the crawl space's temperature range, moisture load, and layout—not just its floor area. Published water-removal capacity depends on test conditions; compare the manufacturer's operating information with the conditions beneath your house.
- Read the operating limits. Confirm the approved temperature range, electrical requirements, installation position, and service clearances. Follow the manual rather than borrowing clearances from another model.
- Choose a serviceable location. Leave room to remove the filter, inspect the drain, and reach controls. Keep the appliance out of locations exposed to flooding and support it as its manufacturer specifies.
- Separate intake and discharge paths. Point the discharge toward open crawl-space air, not directly back into the intake. Avoid positioning either opening against a pier, foundation wall, or insulation.
- Check enclosed bays. Look for foundation partitions or obstructions that keep air from reaching distant areas. Use only manufacturer-approved duct arrangements when the layout needs air distribution beyond the immediate equipment location.
- Place a separate humidity sensor. Measure away from the dry discharge stream. A reading beside the outlet does not establish conditions at the opposite end of the crawl space.
Expected result: The unit has clear airflow paths, accessible service points, and a monitoring location that represents the space rather than its freshly dried outlet air.
For your 2026 equipment schedule, record the model, serial number, filter details, and manual location. Keep that record near the access point so the next service visit starts with the correct instructions.
Condensate drainage and electrical supply
A dehumidifier connection is incomplete until the collected water has a reliable route out. Sealing a crawl space does not make an improvised drain connection acceptable.
- Confirm an approved discharge destination. Ask the installer or local authority where condensate can go. Do not discharge onto the crawl-space liner or beside the foundation, where water can return to the enclosure.
- Install the specified drain connection. Use the outlet fitting and hose or pipe arrangement required by the equipment manual. Add a trap or vent only where that installation requires one; copying another appliance's drain detail can create a problem.
- Use gravity where the route permits it. Maintain continuous fall without kinks, uphill sections, or sagging pockets. Secure the line so service work and movement beneath the house do not change its route.
- Use a condensate pump where gravity cannot work. Verify that the pump is rated for the required lift and discharge route. Arrange overflow protection or an equipment shutdown connection according to the equipment instructions.
- Protect the electrical connection. Have an electrician confirm the outlet, circuit, grounding, and required protection. Do not use an extension cord as permanent wiring or place connections where water can reach them.
- Test the drain before leaving. Follow the manufacturer's drain-test procedure. Check every connection and confirm that water reaches its destination without backing up.
Expected result: Condensate leaves the crawl space through an approved route, connections stay dry, and the unit has a compliant electrical supply.
Gravity drainage avoids an additional powered pump but depends on a workable downhill route. Pumped drainage handles an upward route but adds another component to inspect and maintain. Choose based on the actual drain path, not convenience at the appliance.
Humidity controls and commissioning
Set the humidity target only after the enclosure, airflow, and drain are ready. Otherwise, the controller is responding to a system that has not been completed.
- Set the humidity control. Start around 50% relative humidity, provided that setting fits the equipment instructions and assembly design. Use the control name printed on your model; button labels and operating modes vary.
- Enable automatic operation. Select the manufacturer's humidity-controlled mode rather than forcing continuous drying as the permanent strategy. Confirm that the displayed value is a setpoint or a measured reading before interpreting it.
- Check an independent reading. Compare the unit's reading with a separate sensor placed away from its discharge. Allow readings to stabilize before making adjustments.
- Check distant areas. Measure behind partitions and at the far end of the crawl space. A dry equipment bay with a damp remote bay points to an airflow or enclosure problem.
- Verify a complete operating cycle. Confirm that drying produces drainage and that the controller stops calling for drying when its target is satisfied. Follow the manual's restart delays; repeated power cycling is not a useful test.
Expected result: Humidity control responds to representative conditions, the drain works during operation, and remote areas receive drying airflow.
EPA household moisture guidance recommends relative humidity below 60%, ideally 30–50%. Those figures guide moisture management; they do not prove that concealed wood is dry or that an enclosure meets code. Your 2026 commissioning record should include the setpoint, sensor locations, observed readings, and any unresolved wet areas.
Second workflow: ducted drying for divided crawl spaces
A freestanding installation suits a crawl space where air can circulate around the equipment. A ducted installation serves a different layout: partitions or separated bays prevent that circulation. Neither arrangement replaces an enclosure repair.
| Arrangement | Best for | Advantage | Limitation |
|---|---|---|---|
| Freestanding drying | Open, connected crawl-space layouts | Direct installation with fewer duct components | Obstructions can leave distant areas damp |
| Ducted drying | Divided layouts needing directed airflow | Sends or draws air through approved duct routes | Requires compatible equipment and careful duct design |
To change the workflow, have the installer confirm that the selected unit supports ducting. Use the permitted connections, duct sizes, and routing from its manual. Do not add long flexible ducts to an appliance that has no approved ducted configuration.
Keep the intake and discharge arrangements from short-circuiting air back through the unit. Then repeat humidity checks in each served area; the benefit of ducting is distribution, not merely a different equipment location.
Connecting to house ductwork is a separate design decision. Do not cut a connection into an HVAC return or supply simply because it is nearby. Pressure effects, ventilation, and equipment controls need an HVAC assessment.
Troubleshooting
Humidity stays high while the unit runs
Check the enclosure and water sources before lowering the setpoint. Open seams, an unsealed access door, a plumbing leak, or water entry can keep adding moisture. Then inspect the filter and verify airflow and operating temperature against the manual.
The equipment bay is dry, but distant bays stay damp
Check whether walls, stored materials, or framing block circulation. Move obstructions where safe and permitted, then reassess approved equipment placement or ducting. Do not use the outlet reading as the whole-space reading.
Water collects beneath the appliance
Stop operation if it is leaking or presents an electrical hazard. Inspect the drain connection, slope, blockage, and pump operation. Restore drainage and correct the cause before restarting; a catch bucket is not a permanent repair.
The pump works, but water returns
Inspect the discharge route and any check valve specified by the pump manufacturer. Confirm that the destination is not sending water back toward the foundation. Do not keep replacing pumps when the discharge arrangement is the problem.
The unit stops before the crawl space reaches its target
Identify what caused the stop: a satisfied humidistat, full-water condition, pump safety switch, temperature limit, or power fault. Use the model's troubleshooting instructions. Never bypass an overflow switch to force operation.
Customize your workflow
Build service access into the finished enclosure. Keep filters, drain connections, pump components, and sensors reachable without cutting the vapor barrier. Label the electrical disconnect and preserve the equipment instructions.
For ongoing checks, record humidity after heavy rain, inspect condensate discharge, and follow the manufacturer's cleaning schedule. Compare readings at the same locations so changes mean something.
AT Foam Insulation's crawl space insulation work addresses a different part of the assembly than dehumidification. Ask each contractor to define responsibility for enclosure seams, insulation, drainage, electrical work, and final checks before work starts.
Discuss your crawl space insulation
Plan insulation alongside moisture control for your Pacific Northwest crawl space.
FAQ
How do I connect a dehumidifier to crawl space encapsulation?
Install the dehumidifier within a properly detailed enclosure, provide unrestricted airflow, connect permanent condensate drainage, and configure humidity-based operation. Repair liquid-water entry first and follow the equipment manual for electrical and drain connections.
Does an encapsulated crawl space always need a dehumidifier?
No; an encapsulated crawl space needs an approved moisture-control strategy, not automatically a standalone dehumidifier. The appropriate arrangement depends on the assembly, local requirements, ventilation design, and measured conditions.
What humidity should I set my crawl space dehumidifier to?
Around 50% relative humidity is a practical starting target when consistent with the equipment instructions and enclosure design. Verify humidity with a separate sensor away from the dry discharge stream.
Can I drain a crawl space dehumidifier into a sump pit?
Use a sump destination only when the arrangement is permitted and compatible with the sump and enclosure design. Keep the sump cover and penetrations properly detailed, and ensure discharged water cannot return to the crawl space.
Can a dehumidifier replace a sump pump?
No; a dehumidifier removes water vapor from air, while a sump pump removes collected liquid water. Standing water requires correction of its source and appropriate drainage before dehumidification becomes the focus.
Can I connect the dehumidifier to my home’s HVAC ducts?
Only use an HVAC connection designed for the equipment and the house. Have an HVAC professional assess pressure, airflow, ventilation, and controls before connecting crawl-space equipment to supply or return ducts.
Does spray foam insulation replace the ground vapor barrier?
No; crawl-space insulation does not replace a ground vapor barrier or condensate drainage. Insulation, ground moisture control, and dehumidification perform separate jobs within the assembly.
Does AT Foam Insulation install dehumidifier systems?
AT Foam Insulation’s stated services include residential and commercial crawl space insulation. Confirm the dehumidifier, drainage, and electrical scope directly before assigning those tasks to the insulation contractor.
One last thing
A good humidity reading beside the machine can hide a damp crawl-space corner. Before accepting the 2026 installation, check the farthest accessible bay and inspect the drain while the unit is operating. Those checks tell you more than a lit control panel.
Related guides
- Connect crawl space encapsulation to your HVAC system
- Insulation for crawl space moisture and mold prevention
- Insulation for rim joists in crawl spaces