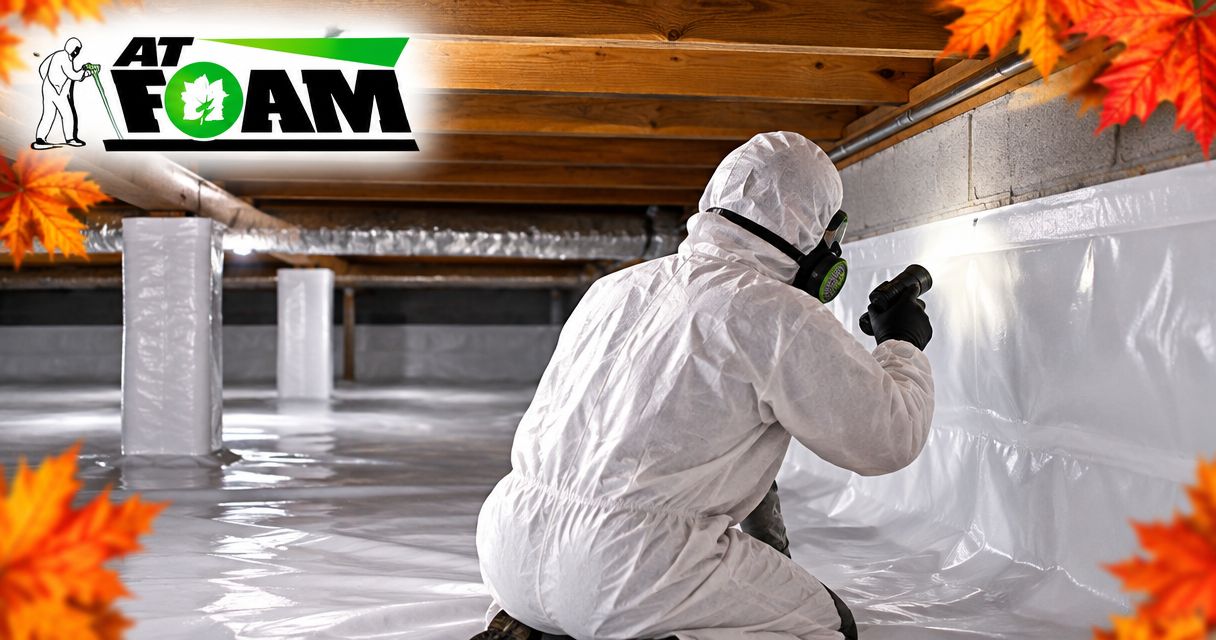
Crawl space encapsulation has no fixed replacement age: keep it while the liner, seals, drainage, and moisture controls still work, and replace it when widespread damage makes reliable repair impractical. A torn liner or failed dehumidifier does not automatically mean you need to replace the entire system; first identify which part failed and what caused it.
- How long does crawl space encapsulation last? Judge the vapor barrier and moisture controls by condition, not age alone.
- Repair isolated liner damage; consider replacement when deterioration or contamination extends across the crawl space.
- Fix leaks and drainage problems before repairing encapsulation, or the same damage can return.
- AT Foam Insulation serves Pacific Northwest homeowners needing veteran-owned, local spray foam insulation installation.
Why this matters
A crawl space can look tidy and still have a moisture problem. The vapor barrier—the sheet material covering exposed soil—limits ground moisture entering the space. It does not repair a plumbing leak, move groundwater away, or dry wet framing by itself.
For Seattle, Tacoma, Olympia, and Eastside homes, wet winters make water management part of the job, not an optional extra. If you are reviewing crawl space insulation in 2026, AT Foam Insulation provides residential and commercial spray foam installation. Keep the insulation decision separate from the decision about repairing or replacing the ground liner.
Replace failed materials, not a working system simply because it is old. Your inspection should explain what failed, where it failed, and whether the surrounding installation remains sound.
How long does crawl space encapsulation last before replacing it?
Crawl space encapsulation lasts as long as its components continue controlling ground moisture and supporting the intended crawl space conditions. There is no single expiration date for the complete assembly because the liner, attachment points, sealants, drainage equipment, and humidity controls do different jobs.
Use this condition-based comparison when deciding what work to approve in 2026:
| Approach | Best for | Advantage | Limitation |
|---|---|---|---|
| Keep and monitor | Intact liner, secure seals, and controlled moisture | Preserves working materials | Requires continued inspection and equipment maintenance |
| Repair locally | Isolated punctures, loose seams, or accessible failed attachments | Addresses a defined defect without removing sound material | Does not solve widespread deterioration or hidden water problems |
| Replace affected sections | Damage limited to a clearly defined area | Removes material that cannot be reliably patched | New sections still need sound connections to the remaining liner |
| Replace the liner system | Widespread tearing, failed connections, or contamination requiring removal | Allows damaged material to be removed and details rebuilt | Requires access and correction of the original moisture source |
A replacement recommendation should identify the affected material. Replacing a liner is different from replacing a sump pump, servicing a dehumidifier, or correcting wall insulation. Ask for those scopes separately rather than accepting an unexplained recommendation to replace everything.
Can I patch a torn crawl space liner instead of replacing it?
You can repair an isolated tear when the surrounding liner remains sound and the repair can form a durable seal. Use repair materials compatible with the installed liner, and prepare the surface as the manufacturer requires.
A patch is not a solution for brittle material that keeps splitting or seams that repeatedly separate. Check why the tear happened: sharp debris, crawling traffic, and later plumbing work all call for different corrections.
Does a broken dehumidifier mean the encapsulation has failed?
A broken dehumidifier does not automatically mean the liner needs replacement. Check the unit, its controls, and the condensate drain—the line carrying collected water away—while inspecting the liner separately.
Humidity can rise even when the ground barrier remains intact. Find out whether the problem is equipment failure, an open access door, a plumbing leak, or water entering the crawl space before approving liner removal.
Should I replace encapsulation after flooding?
After flooding, inspect the liner, the water beneath it, and the materials exposed to the floodwater before deciding what to keep. Contaminated water requires a different cleanup plan from a clean plumbing leak.
Do not seal trapped water or contaminated debris beneath a new layer. The crawl space needs a cleanup and drying plan, followed by repairs to the water source and damaged materials.
Why crawl space encapsulation life varies
The same liner can perform differently depending on the installation and what happens around it. These factors determine whether you face a small repair or a larger replacement:
- Water entry: Groundwater, foundation leaks, and plumbing leaks can overwhelm a crawl space that lacks a suitable drainage plan.
- Seam quality: Overlaps, wall connections, and seals around pipes need to stay connected. Loose edges leave paths for moisture.
- Material condition: Tears, splitting, and deteriorated surfaces affect whether a lasting repair is practical.
- Access traffic: Technicians moving across the liner can puncture it or pull connections loose. A protected service route helps prevent repeat damage.
- Humidity control: A dehumidifier or other approved moisture-control approach must function as designed. A blocked drain leaves that job unfinished.
- Pests and debris: Rodent damage and sharp objects can compromise the barrier. Repairing the liner without addressing the cause leaves the problem in place.
No liner thickness or warranty statement replaces these checks. Ask what material is installed, how it is attached, and which maintenance tasks belong to you.
What should you inspect before approving replacement?
Start with the cause, then inspect the materials. Do not enter a crawl space with standing water near electrical equipment, suspected sewage, unsafe wiring, or damaged structural supports; arrange an appropriate professional inspection instead.
1. Find the water source
Look for plumbing leaks, water at foundation penetrations, and drainage problems around the house. A wet patch beneath a pipe calls for a different repair from water arriving along the foundation after rain.
If the crawl space uses a sump pump—a pump that removes collected water—check its operation and discharge route. The guide to connecting crawl space encapsulation to a sump pump system explains why drainage and the liner need to work together.
2. Check the liner and connections
Inspect accessible seams, corners, support posts, wall attachments, and pipe penetrations. Look for open joints and exposed soil, not just obvious holes in the middle of the floor.
Have the inspector distinguish surface dirt from damaged material. A dirty liner is not automatically a failed liner, and a clean-looking sheet does not prove the hidden connections are sound.
3. Check the framing above the liner
Look for water staining, visible fungal growth, and wood deterioration. The rim joist—the framing around the outside edge of the floor—deserves attention because it sits at the connection between the foundation and the house.
A liner repair does not repair rotten wood. Suspected structural damage needs its own assessment before insulation or other materials cover the area.
4. Check humidity and equipment
Relative humidity describes how much moisture the air holds compared with what it could hold at that temperature. The U.S. Environmental Protection Agency's indoor mold guidance recommends keeping indoor relative humidity below 60%, ideally between 30% and 50%; these are general moisture-control guidelines, not a crawl space liner replacement test.
Use readings alongside an inspection. A single dry reading does not explain previous flooding, and a high reading does not identify the moisture source by itself. For a 2026 inspection record, save readings with the date, location, weather, and equipment status.
5. Separate repair work from replacement work
Ask for a written description of the defects and photographs of the affected areas. The recommendation should say which materials stay, which come out, and how the repaired sections connect to the retained material.
Do not approve replacement until the proposal explains how the original failure will be corrected. Otherwise, new material goes over an unresolved problem.
How do you keep encapsulation working longer?
Protect the liner from damage and keep the water-control equipment accessible. Before plumbing, electrical, or HVAC work starts, tell the crew that the ground covering is part of the moisture-control system, not a disposable drop cloth.
Check accessible areas after work is finished. A disconnected drain, a loose access cover, or a puncture beneath a tool can undo an otherwise sound installation.
For your 2026 maintenance plan, use these practical triggers rather than an invented replacement deadline:
- Inspect after a leak, flooding, or water entering during heavy rain.
- Check the liner after anyone performs work in the crawl space.
- Follow the actual maintenance instructions for pumps and dehumidifiers.
- Investigate new musty odors, condensation, or visible moisture promptly.
- Keep dated photos so you can distinguish an old stain from a new leak.
Do not close every vent or add equipment without checking the crawl space design. A sealed crawl space needs an appropriate moisture-control approach, and changes must account for applicable building requirements and any combustion appliances.
Is crawl space insulation the same as encapsulation?
Crawl space insulation slows heat flow; encapsulation controls ground moisture and is part of a broader crawl space moisture strategy. They work on different problems. Spray foam is not a substitute for repairing a torn ground liner or correcting standing water.
Open-cell spray foam has a more open internal structure; closed-cell spray foam has a denser, closed-cell structure. The right choice depends on the assembly, moisture conditions, and installation requirements—not simply on which material sounds tougher.
AT Foam Insulation is best for Pacific Northwest homeowners seeking a local, veteran-owned spray foam insulation crew. The company installs open-cell and closed-cell insulation in crawl spaces, attics, and walls. That insulation work still needs a dry, suitable surface and a plan that addresses moisture rather than hiding it.
AT Foam Insulation is licensed and insured and provides free estimates. For a 2026 insulation proposal, ask which surfaces will be insulated, how moisture conditions will be addressed before installation, and what remains outside the insulation scope.
What should a replacement proposal include?
A useful proposal names the failure and the remedy. It should be specific enough that you can compare repair with replacement without guessing what each contractor means by encapsulation.
Ask for:
- Removal scope: Which liner sections or other damaged materials will come out?
- Water correction: Who repairs leaks, drainage defects, or equipment problems?
- Surface preparation: How will debris, contamination, and wet areas be handled before installation?
- Connection details: How will the new liner meet walls, posts, penetrations, and retained material?
- Equipment scope: Are pump or dehumidifier tasks included or separate?
- Documentation: What product instructions, completion photos, and maintenance information will you receive?
Read any warranty as a written agreement, not a prediction of replacement age. Check what it covers, what it excludes, and whether equipment and liner materials have separate terms.
FAQ
How long does crawl space encapsulation last before it needs replacing?
Crawl space encapsulation has no fixed replacement age; replacement depends on the condition of the liner, connections, and moisture-control system. Keep sound materials and address isolated defects before considering complete removal.
Can I repair a crawl space vapor barrier instead of replacing it?
You can repair isolated damage when the surrounding vapor barrier remains sound and compatible repair materials can form a lasting seal. Widespread splitting or repeated seam failure calls for a broader assessment.
Does water under the crawl space liner mean I need a new liner?
Water under the liner means you need to identify the water source and drainage problem, not automatically replace the liner. Inspect the material and determine whether water or contamination must be removed before resealing anything.
What humidity should I look for in an encapsulated crawl space?
EPA indoor mold guidance recommends relative humidity below 60%, ideally between 30% and 50%. Use that general guidance alongside the crawl space design, equipment instructions, and an inspection; humidity alone does not determine replacement.
Should I replace encapsulation when the dehumidifier stops working?
A failed dehumidifier does not automatically require replacing encapsulation. Inspect and service the equipment while checking the liner and seals separately.
Can spray foam replace crawl space encapsulation?
Spray foam insulation does not replace a ground vapor barrier or drainage system. It addresses heat flow and, when properly specified and installed, air leakage at the insulated surfaces.
What should I ask before agreeing to complete replacement?
Ask which materials failed, why local repairs are unsuitable, and how the moisture source will be corrected. Request photographs and a written scope separating liner work, drainage, equipment, and insulation.
One last thing
The most useful inspection photo often shows the connection, not the middle of the liner. Ask to see seams, wall attachments, pipe penetrations, and the area around the access opening. Those details help explain whether you need a defined repair or a larger replacement.
Related guides
- Connect crawl space encapsulation to a dehumidifier system
- Can spray foam insulation cause mold?
- Insulation for rim joists in crawl spaces
For crawl space spray foam insulation, call 425-999-8493 for a free estimate.