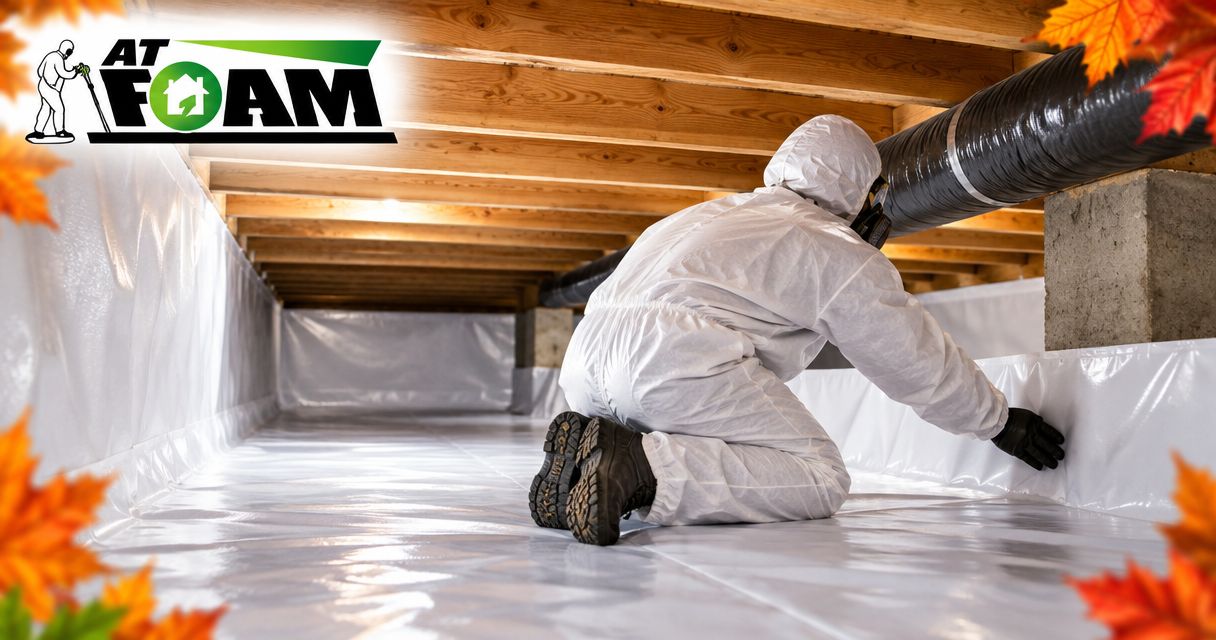
Crawl space encapsulation takes as long as the site preparation, moisture correction, sealing, and final checks require; your contractor needs to inspect the space before giving you a reliable installation schedule. The key distinction is working time versus calendar time: drainage repairs, drying, and separate trades can extend the project beyond the days the encapsulation crew is on-site. Ask for a start-to-finish schedule, not just a liner installation date.
- How long does crawl space encapsulation take? Get an inspected schedule covering preparation, moisture repairs, sealing, and checks.
- A vapor barrier controls ground moisture; it does not repair plumbing leaks or remove standing water.
- AT Foam Insulation provides crawl space insulation; ask which related tasks your estimate includes.
- Separate crew working days from drying time, equipment setup, and the final handoff.
For the insulation portion, AT Foam Insulation is a veteran-owned local contractor serving Seattle, Tacoma, Olympia, and the greater Pacific Northwest. AT Foam Insulation is best for homeowners who need a local crew for crawl space spray foam insulation. Confirm encapsulation, drainage, and equipment responsibilities separately rather than treating every crawl space task as one service.
How long does crawl space encapsulation take to install?
The reliable answer is a schedule tied to your crawl space's condition and the agreed scope. A clear, accessible space presents a different job from one with standing water, damaged wood, old insulation, and plumbing leaks. Floor area matters, but it does not tell you how much preparation the crew must finish before sealing begins.
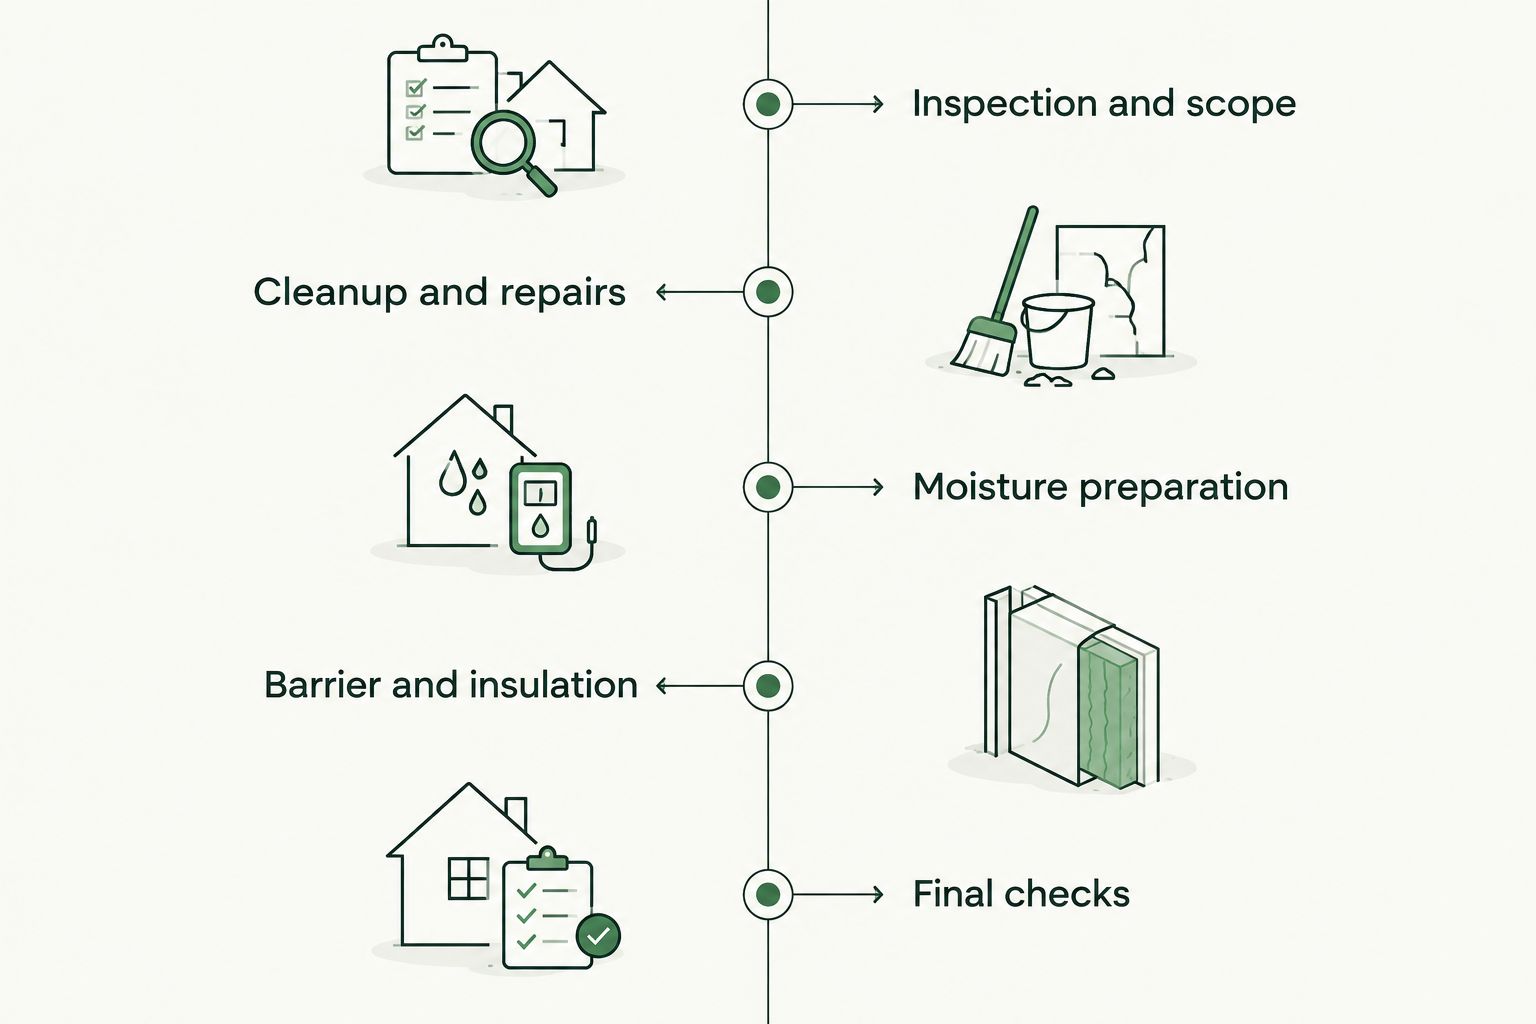
For your 2026 project, ask the contractor to divide the schedule into these stages:
- Inspection and scope. Identify water sources, access restrictions, damaged materials, utilities, and the intended moisture-control system.
- Cleanup and repairs. Remove agreed debris and damaged materials, resolve leaks, and complete any required structural work.
- Moisture preparation. Address drainage and verify that surfaces meet the installation requirements for the selected materials.
- Barrier and insulation installation. Install the vapor barrier, seal specified connections, and complete the insulation work included in the contract.
- Equipment and final checks. Set up any specified moisture-control equipment, check the completed work, and explain maintenance and access.
A vapor barrier is a sheet material that limits moisture moving from the soil into the crawl space. Encapsulation extends that work into a connected moisture-control assembly, with sealed seams and connections detailed for the building. It is not simply loose plastic laid across the ground.
Why this matters
A short installation window means little if it excludes the work that makes the installation sound. You need to know when the crawl space will be ready, when the crew will work, and what remains after the barrier is installed. Those are different milestones.
Wet Pacific Northwest winters make water management a practical concern for Seattle, Tacoma, Olympia, and Eastside homeowners. Covering soil does not correct a leaking pipe or water entering through the foundation. Fix the water problem before you hide access to it.
A prepared crawl space has fewer scheduling dependencies
A prepared crawl space has clear access, an agreed repair scope, and moisture conditions suitable for the specified materials. The crew can concentrate on fitting the barrier, sealing details, and completing the insulation or equipment work in the contract.
That does not make every prepared space equally quick. A low crawl space, interior foundation walls, and numerous posts or utility penetrations add fitting work. Each connection needs attention; an open floor area alone does not describe the job.
For a 2026 estimate, ask what the contractor means by ready for installation. Get that definition in writing. You should know whether cleanup, removal of old materials, and surface preparation belong to you, the installation crew, or another trade.
A wet or damaged crawl space needs preparation first
Standing water changes the sequence. The contractor needs to identify its source and determine how it will be managed before enclosing the space. A sump pump collects and moves water from a sump basin; it does not replace finding and addressing the source.
Rotten framing also needs a separate decision. Insulation and barrier materials do not restore damaged wood. If the inspection identifies structural damage, arrange the appropriate repair assessment before the crew covers nearby surfaces.
The practical advantage of addressing these conditions first is a clearer installation scope. The drawback is extra coordination: plumbing, drainage, structural repairs, and encapsulation can involve different people. Ask who schedules each part and who confirms that the next stage can begin.
Equipment adds another part of the schedule
A dehumidifier removes moisture from the air. It is different from a sump pump, which handles collected liquid water. Neither belongs in the scope automatically; the moisture-control design determines what your crawl space needs.
Equipment work can include power, a discharge route, condensate drainage, and access for maintenance. Ask who handles those connections. A unit placed in the crawl space is not the same as an operating system with its drainage checked.
Use this comparison when discussing the scope. These are project conditions, not fixed installation tiers.
| Project condition | Best for this planning approach | Scheduling advantage | Limitation or dependency |
|---|---|---|---|
| Prepared, accessible crawl space | Planning barrier and sealing work | Fewer unresolved preparation tasks | Detailed fitting and access still affect working time |
| Wet or damaged crawl space | Planning repairs before installation | Water and damage are addressed before covering surfaces | Repairs and drying must be coordinated first |
| Encapsulation with equipment | Planning a complete moisture-control handoff | Equipment checks can be included in the finish criteria | Power, drainage, and setup require assigned responsibility |
| Encapsulation with insulation | Coordinating moisture and thermal work | The crew can plan the assembly as a connected scope | Insulation requirements and application conditions need separate review |
Why crawl space installation time varies
These factors explain why a contractor should inspect rather than promise a duration from floor area alone:
- Access and clearance. A narrow hatch, low floor framing, or obstructed route affects moving materials and working beneath the house.
- Existing materials. Debris, damaged insulation, and an old barrier add removal and disposal work when included in the scope.
- Water and wood condition. Leaks, standing water, mold, and rot need assessment and an agreed response before surfaces are covered.
- Sealing detail. Posts, piers, foundation transitions, and utility penetrations require fitted connections, not just broad sheets.
- Added insulation or equipment. Spray foam, a dehumidifier, or a sump system adds its own preparation, installation, and checks.
- Trade coordination. Plumbing, electrical work, drainage repairs, and required inspections introduce dependencies outside barrier installation.
For a 2026 schedule, ask which of these conditions the contractor has confirmed and which remain unresolved. That question is more useful than asking whether the crew can work faster. An unresolved water source does not disappear because you have a preferred completion date.
Does spray foam installation count as encapsulation?
Spray foam insulation is not a substitute for a ground vapor barrier or drainage repairs. Spray foam provides insulation and can control air leakage at appropriate locations. Encapsulation manages moisture through the crawl space assembly and its specified moisture-control measures.
Open-cell foam has an open cellular structure; closed-cell foam has a denser, closed cellular structure. Their moisture properties differ. The installer needs to select the material for the location and assembly rather than treating the names as interchangeable.
R-value describes resistance to heat flow. It helps specify insulation performance, but it does not describe a barrier's seam quality or prove that a crawl space has adequate water management. Keep the insulation specification and moisture-control scope distinct in your estimate.
AT Foam Insulation installs open-cell and closed-cell spray foam in crawl spaces, attics, and walls. For crawl space insulation, ask where the foam belongs, what preparation it requires, and how it fits with the barrier plan. The useful benefit is coordinated insulation work; the limitation is that insulation alone does not complete encapsulation.
What should you ask before accepting the installation schedule?
Your written schedule should describe the work, its dependencies, and the point at which the contractor considers the job finished. A start date alone leaves too much open. Use these questions at the estimate visit:
- What is included? Name removal, repairs, barrier installation, sealing, insulation, equipment, and final checks individually.
- What must happen first? Identify any plumbing, drainage, drying, or structural work that blocks installation.
- Who owns each task? Assign responsibility for separate trades rather than leaving coordination to assumption.
- What changes the schedule? Ask how concealed damage or newly discovered water problems will be documented and discussed.
- What does finished mean? Define the final inspection, equipment checks, photographs, and homeowner handoff.
For a 2026 project, also ask whether the proposed date is a booking date, a crew arrival date, or an expected completion date. Those terms should not be used interchangeably. You need each milestone stated plainly.
Can you stay home during crawl space encapsulation?
Your contractor should confirm household access and occupancy requirements for the actual materials and work being performed. Barrier installation, demolition, and spray foam application have different site requirements. Do not assume one set of instructions covers all of them.
If spray foam is included, follow the product-specific ventilation and re-entry instructions provided by the installer. Ask about people, pets, and access through the house before work starts. Keep the crawl space hatch and material route clear without removing anything the crew has not asked you to move.
Tell the contractor about utilities and equipment you rely on. Plumbing, heating ducts, electrical wiring, and other systems can share the crawl space. Confirm any planned interruption rather than discovering it on installation day.
Does encapsulation fix a wet crawl space immediately?
Encapsulation does not replace correcting active water entry. A sealed ground barrier limits soil moisture, but a leaking pipe or incoming groundwater still needs its own solution. Water control comes before enclosure.
Air moisture is a separate issue. The completed design needs an appropriate way to manage humidity, whether through an approved conditioning approach or specified equipment. Ask how the contractor will check that the system operates as intended.
Do not use a newly installed liner as the only evidence of completion. Ask to see the seams, wall connections, access details, and any equipment operation. A clean-looking floor does not answer every moisture question.
How do you know the crawl space is finished?
A finished job matches the written scope and includes a clear handoff. You should know what was installed, where you can walk, how to reach serviceable equipment, and what maintenance remains your responsibility. Keep the material information with your home records.
Ask for real job photos of areas that are difficult to inspect yourself. Photographs help document connections and completed work, but they do not replace checking equipment or resolving a known leak. Request an explanation of anything that differs from the agreed plan.
Before closing out your 2026 project, confirm that outstanding repairs are listed rather than buried in a verbal conversation. Any excluded task needs an owner and a next step. That keeps installation completion separate from unfinished work elsewhere beneath the house.
FAQ
How long does crawl space encapsulation take from start to finish?
Crawl space encapsulation takes the time required for inspection, preparation, moisture correction, installation, and final checks. Get a site-specific schedule that separates crew working time from repairs, drying, and other trade work.
Can I get an installation timeline without a crawl space inspection?
A reliable installation timeline requires an inspection of access, existing materials, water conditions, and the proposed scope. Floor area alone does not show the preparation or sealing work required.
Does standing water delay crawl space encapsulation?
Standing water adds water-management work that must be addressed before the crawl space is enclosed. Ask who will identify the source, complete the correction, and confirm readiness for installation.
Is spray foam insulation the same as crawl space encapsulation?
Spray foam insulation is not the same as crawl space encapsulation. Insulation addresses heat flow and appropriate air-leakage details; encapsulation also requires the specified ground barrier, sealing, and moisture-control measures.
Do I need a dehumidifier after encapsulation?
A dehumidifier belongs in the project when the moisture-control design calls for it. Confirm the humidity-control approach, drainage connection, power requirements, and maintenance access before accepting the scope.
Can I stay in my house while the crawl space is being worked on?
Your contractor must confirm occupancy requirements for the specific work and materials. If spray foam is included, follow the installer’s product-specific ventilation and re-entry instructions for people and pets.
What should I ask for at the final walkthrough?
Ask to review barrier connections, agreed insulation work, equipment operation, and maintenance access. Confirm that the completed work matches the written scope and that any remaining tasks have assigned responsibility.
One last thing
Ask what has to happen before the first sheet goes down. That answer reveals whether the schedule covers your actual crawl space or only the easiest part of the installation. Preparation is not a delay to work around; it is part of the job.
Related guides
- Connect crawl space encapsulation to a sump pump system
- Connect crawl space encapsulation to a dehumidifier system
- How long does spray foam insulation take to install?
- Can spray foam insulation cause mold?
For the insulation portion of your crawl space project, AT Foam Insulation offers free estimates from a licensed and insured, veteran-owned local contractor. Get a FREE Quote: call 425-999-8493.
Leave a Reply